


Overhauling the Chassis, Page 2
The Front Suspension
A bit of advice...shoot down EVERY nut/bolt you plan to remove with penetrating oil the night before working on it. Broken bolt heads & studs are not much fun. Penetrating oil makes everything go so much smoother, and saves you a lot of money in the long run. I also advocate taking breaks every couple hours. Continuing to work when you are getting tired and frustrated only causes more problems. Go get some iced tea, eat a sandwich and chill out for 20 minutes here & there. It really helps everything to go more smoothly!
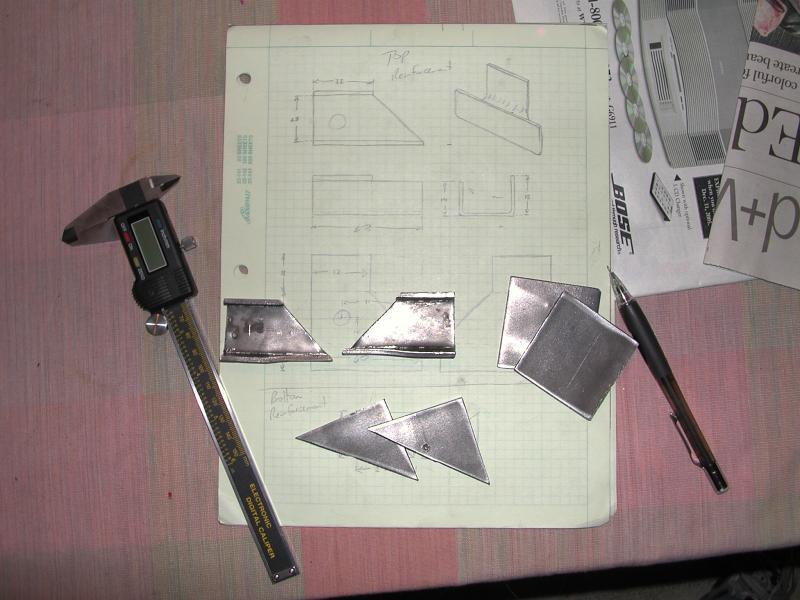
So, here begins the 8 day project. The first order of business was designing some rear sway bar reinforcements. Luckily, I had some spare trailing arms on-hand to test-fit the plates. The chassis-reinforcements were simple, and I remembered the dimensions from when I made some for the first car. The channel-shaped plates were designed as such to provide additional stiffness when welded on (greater cross-sectional moment of inertia to bear the bending moment being imposed on the mounting tab for you engineers out there). These must be welded on to provide any real benefit.
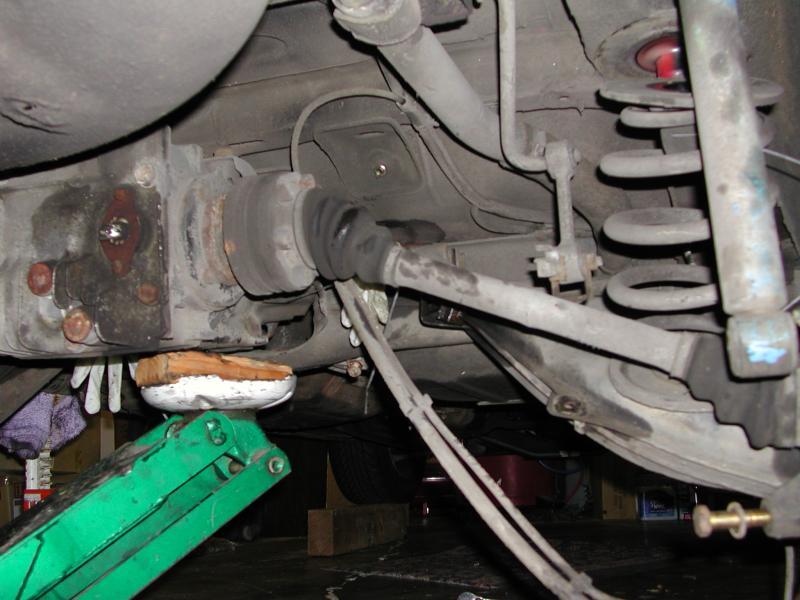
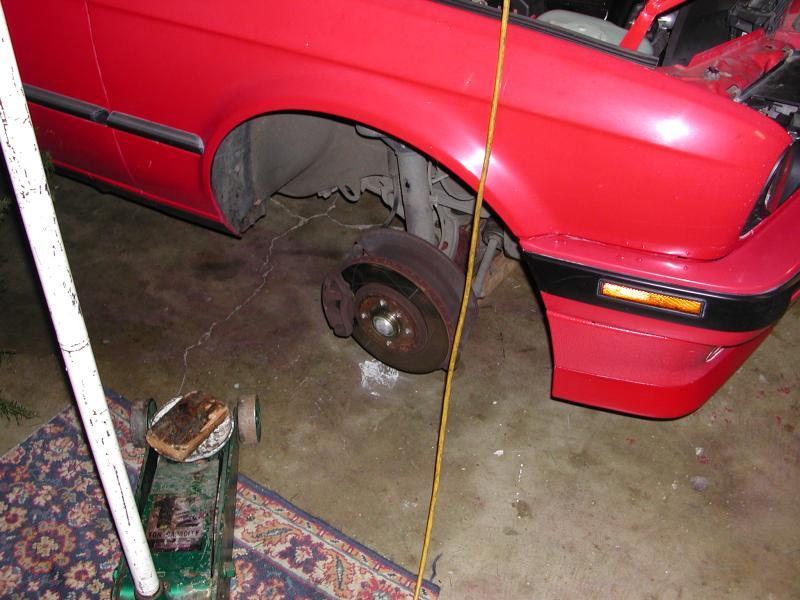
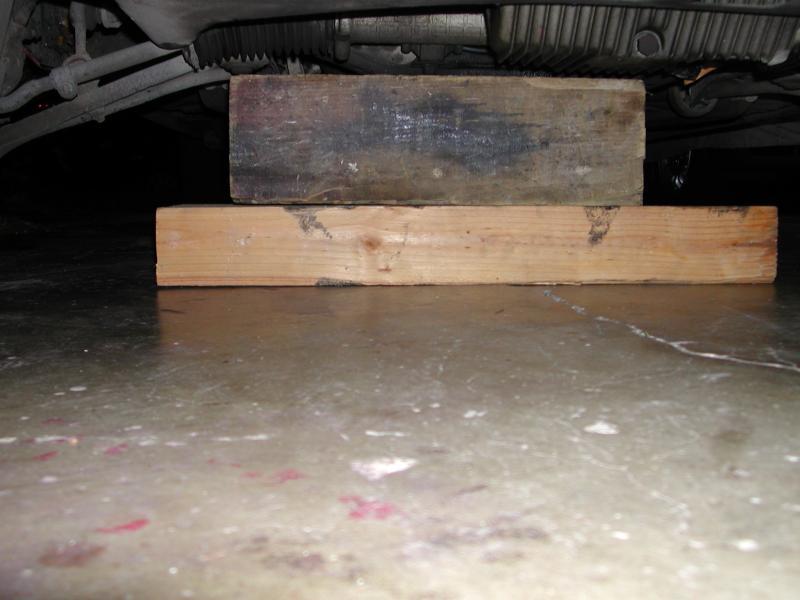
Once I finished making the plates, I set to work on the front suspension. I decided to save the task of welding in reinforcements until later, when I had the rear crossmember removed from the car. As always, when working under a car, it should be fully and properly supported.
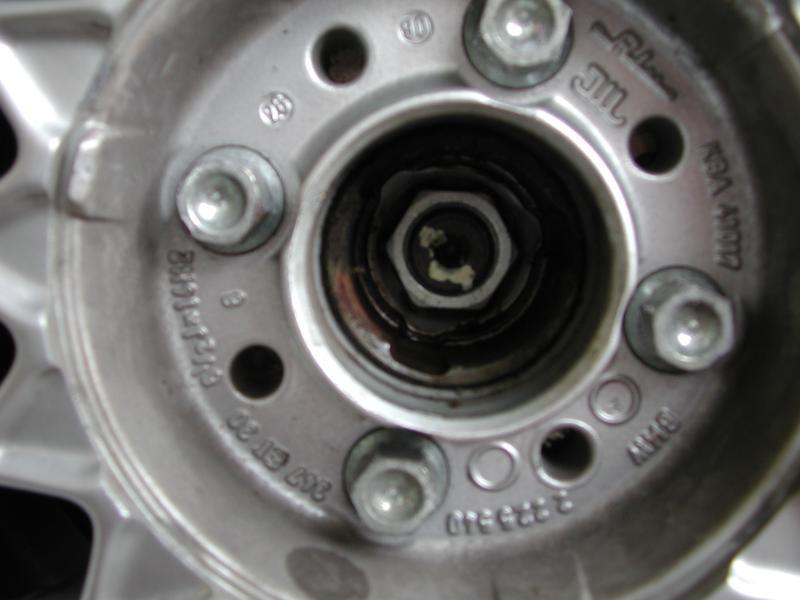
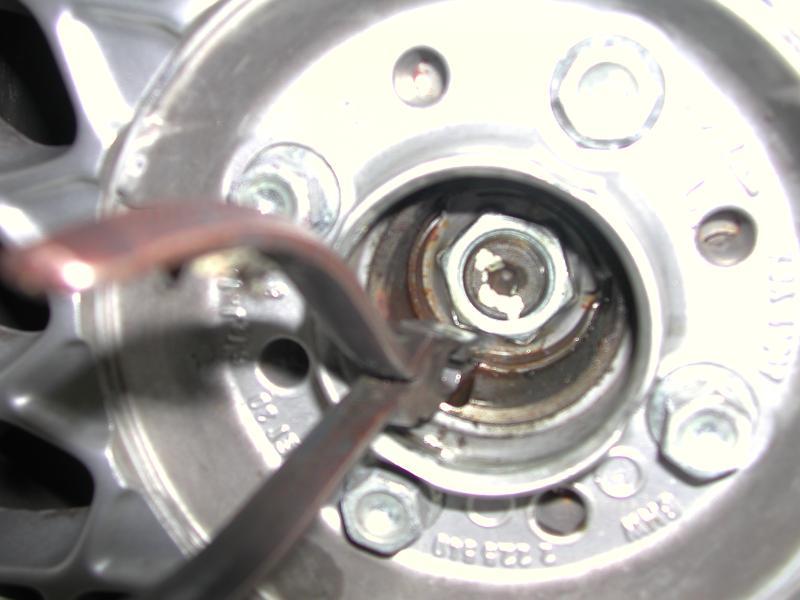
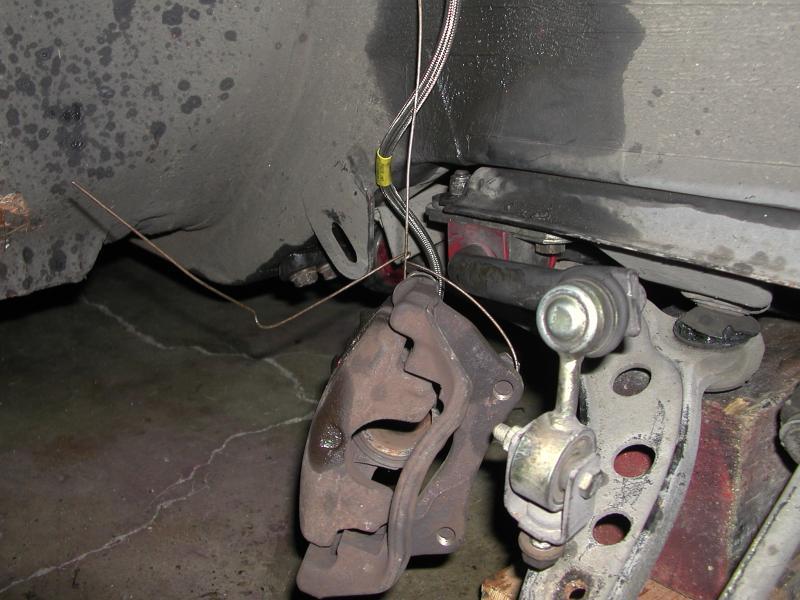
The first task was the removal of the front strut assemblies. Removal is relatively simple. Remove the 19mm bolt holding the strut to the control arm, and the 17mm nut attaching the tie rod. If the studs spin, lightly apply jacking force under the ball joint to lock the tapered portion of the rod in the strut. A rubber mallet is a good way to get the rod back out when the nut is off. Therafter, remove the three 13mm nuts holding the strut into the shock tower up top.
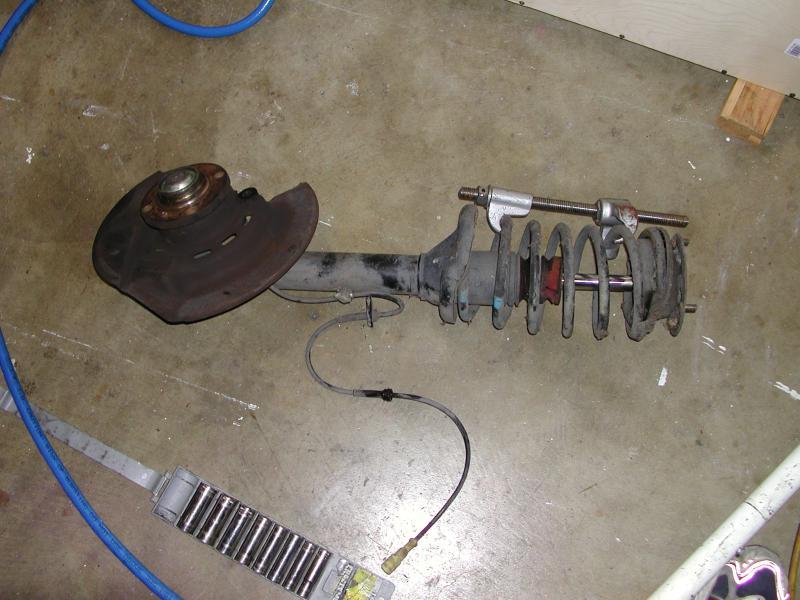
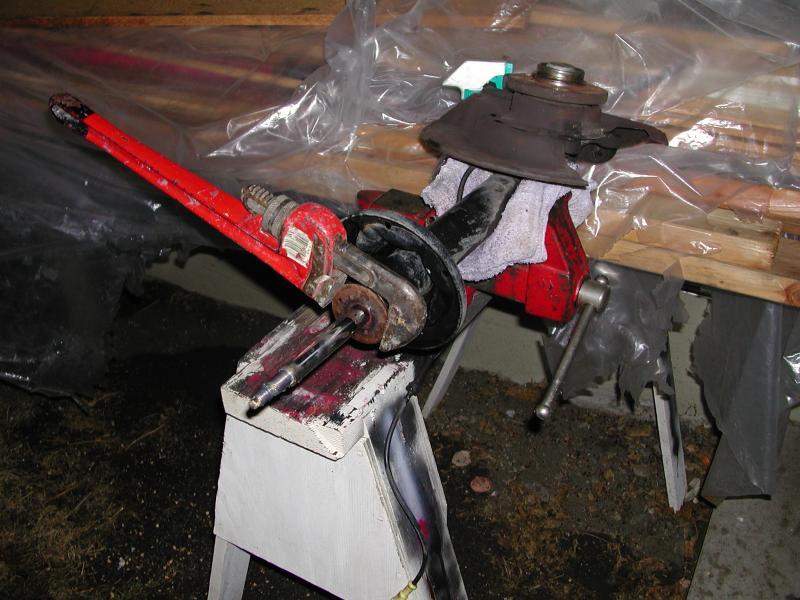
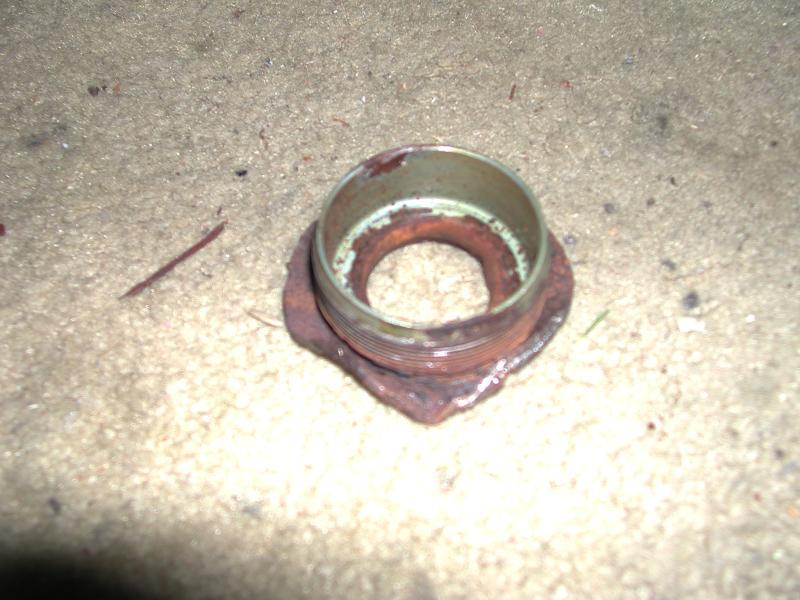
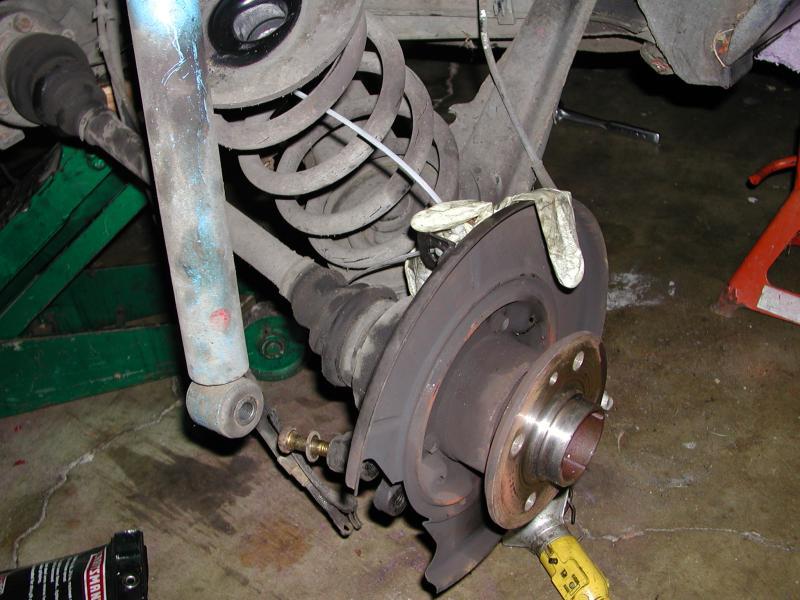
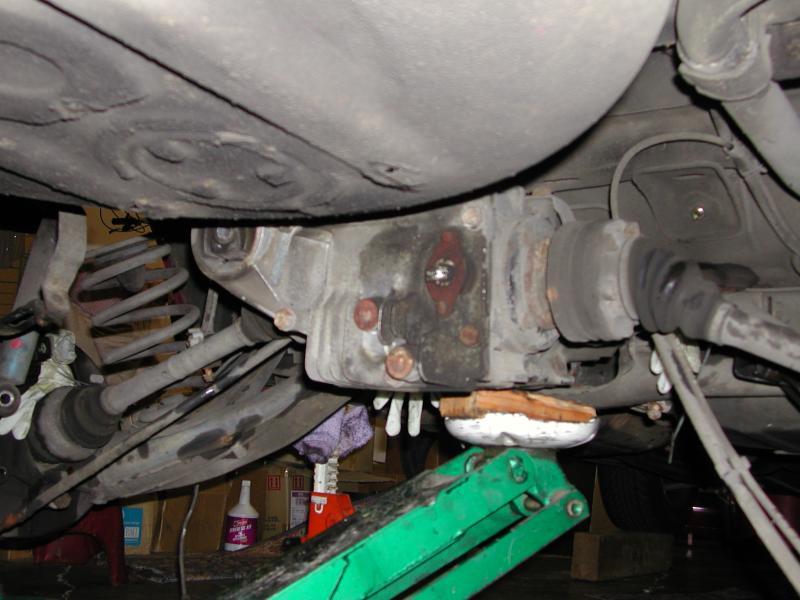
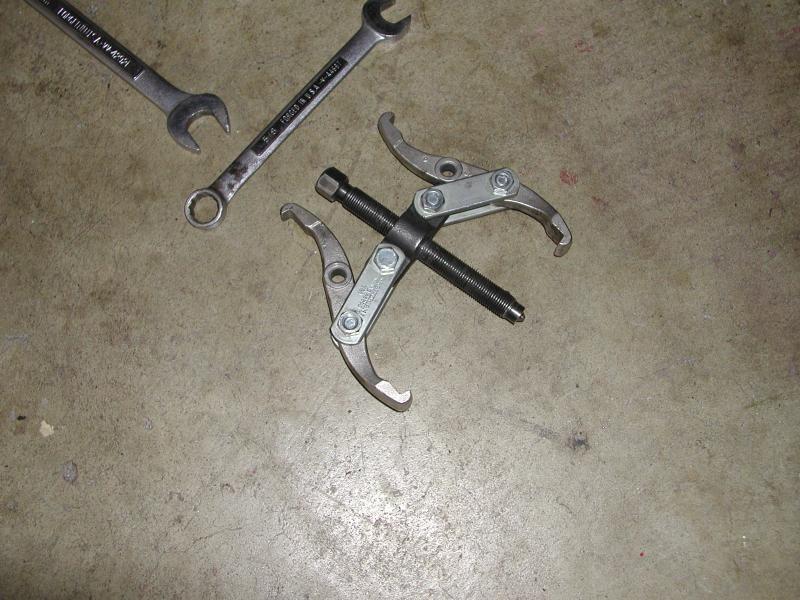
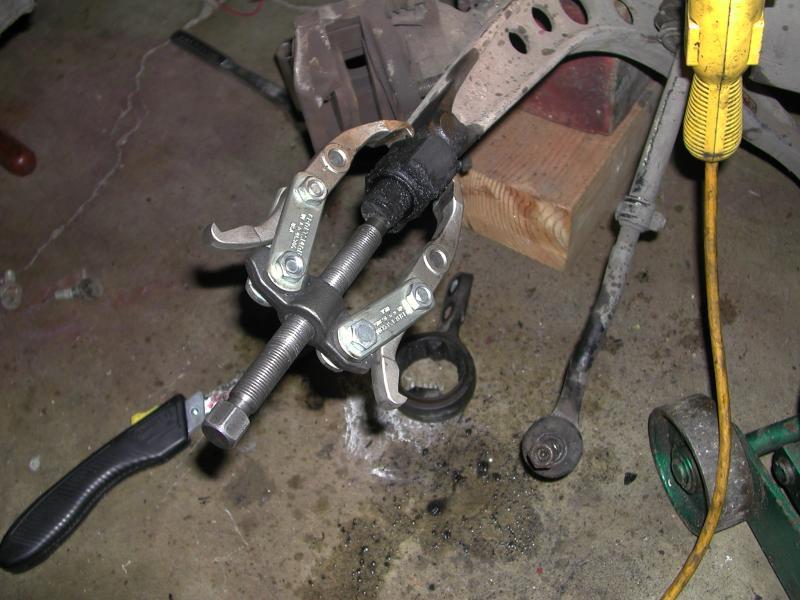
While the struts were off, I took the opportunity to remove and replace the front control arm bushings. In most cases, the bushings get stuck on the arm's shaft. Some penetrating oil and gear pullers make short work of them, but only if you chop off the outer portion of the bushing. With the struts out of the way, I installed the 22mm Suspension Techniques Anti-Sway bar. The hardware needed a little modification, but everythign went together nicely in the end. I also used the time to install the new stainless steel braided brake lines.
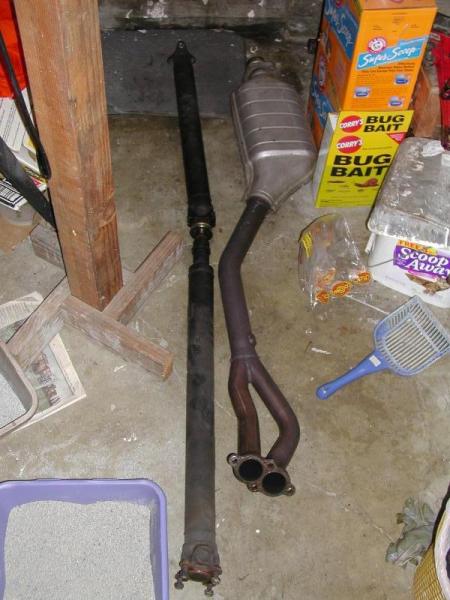
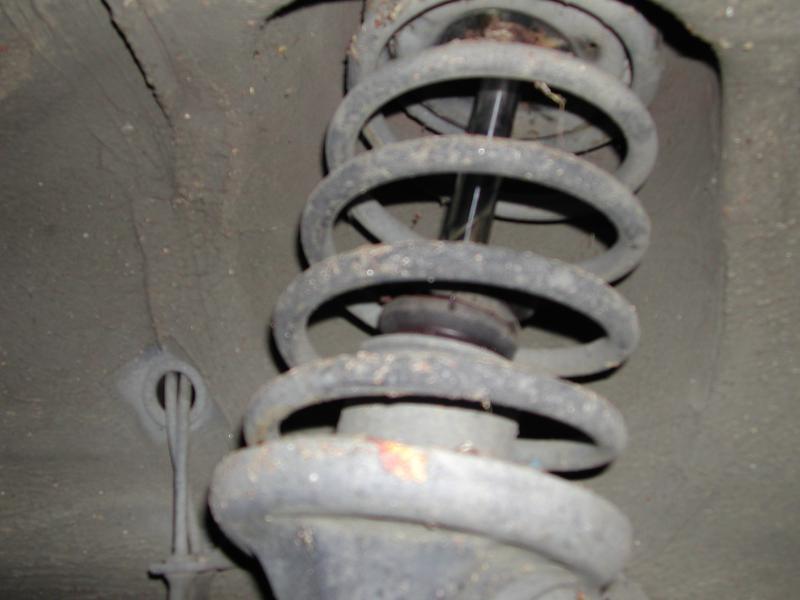
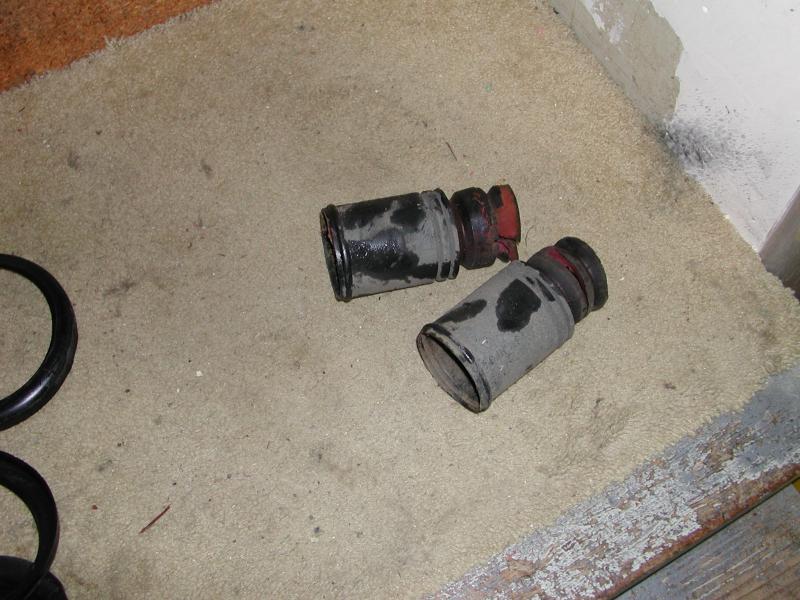
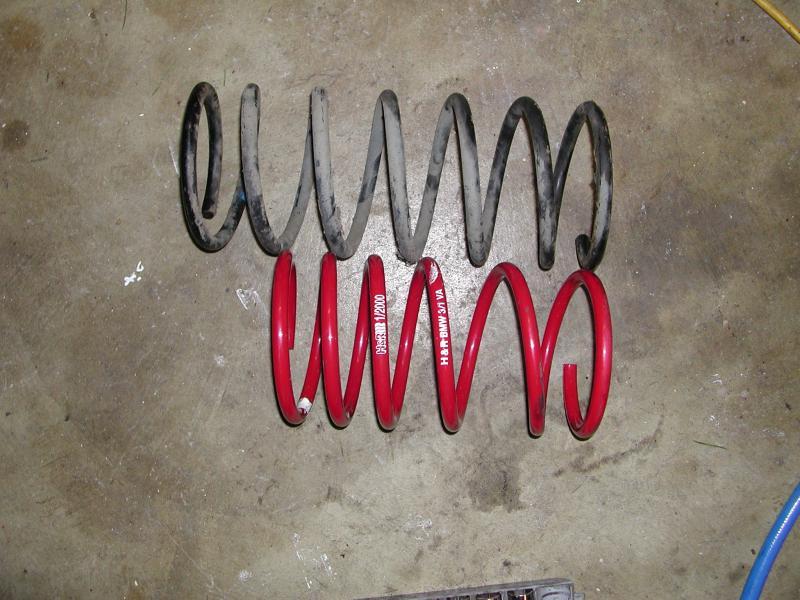
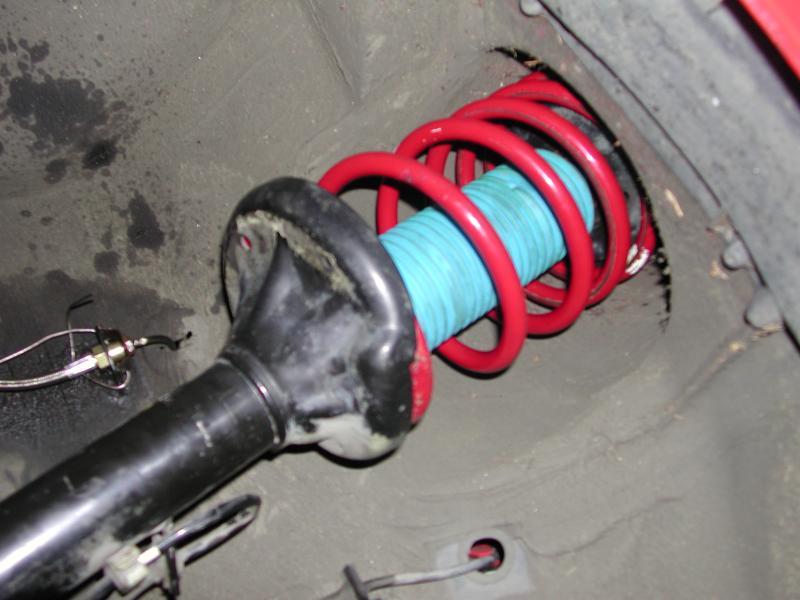
Here is the difference in unspring length between settled stock and aftermarket springs. After installation, the car sits about 1.75" lower all around with the H&R springs. Despite being far shorted unspring, their greater stiffness causes them to compress less with the car's weight on them. Reassembly is basically the reverse of the outlined disassembly procedure above. I breathed a small sigh of relief after finishing this part of the job. The front struts are one of the more tenuous tasks to do when overhauling the E30 suspension.
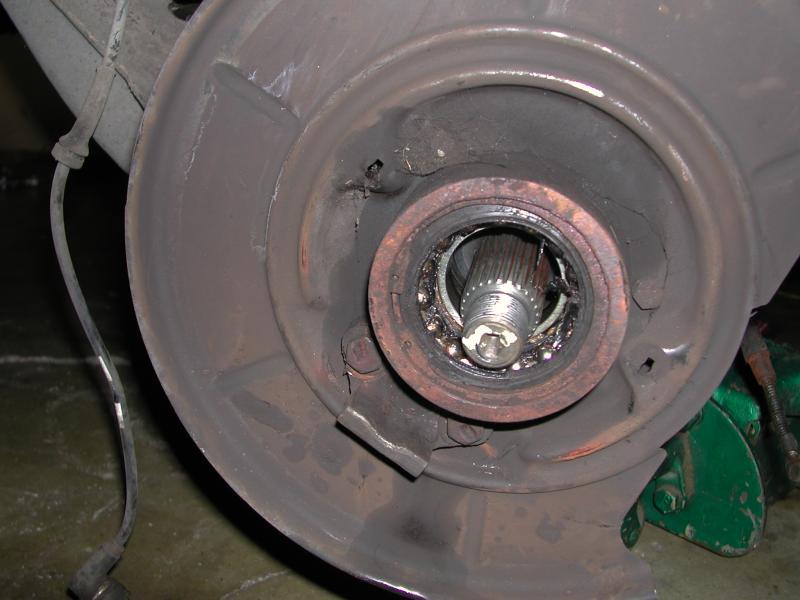
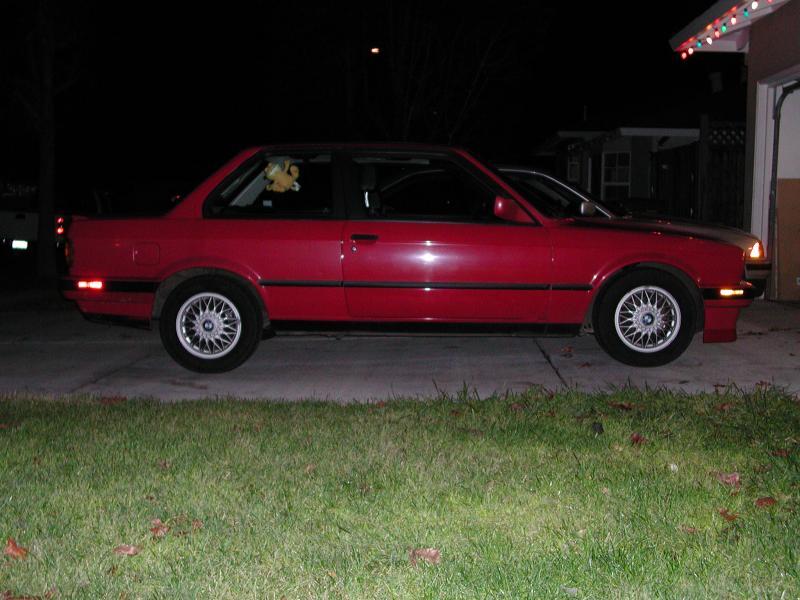
After the struts were all reinstalled, I put the "new" brake rotors and pads on. Since they only had about 2000 miles on them when the last car met its demise, I felt that it would be a waste to toss them. Another 1000 miles and everything would be settled perfectly anyway. So, upon completion of these items, I called it a night. The car actually does not look too terribly goofy with the rear still at stock height.

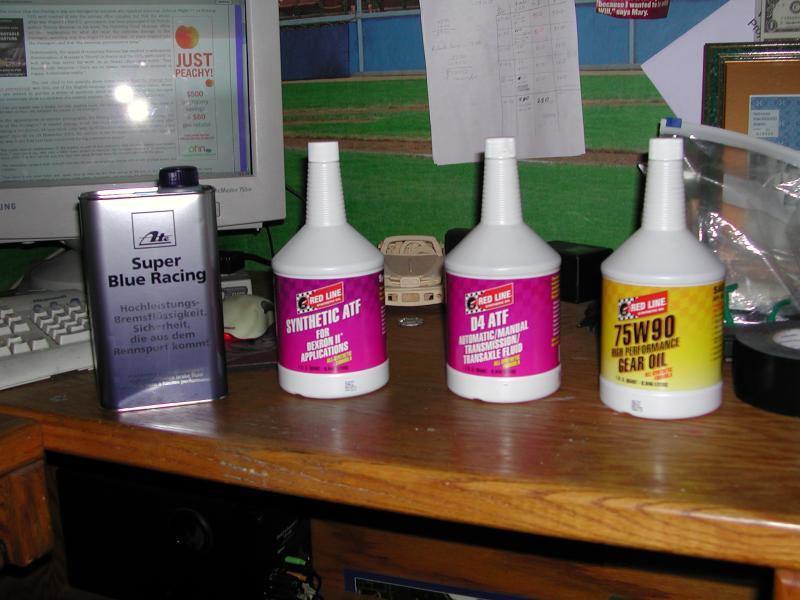
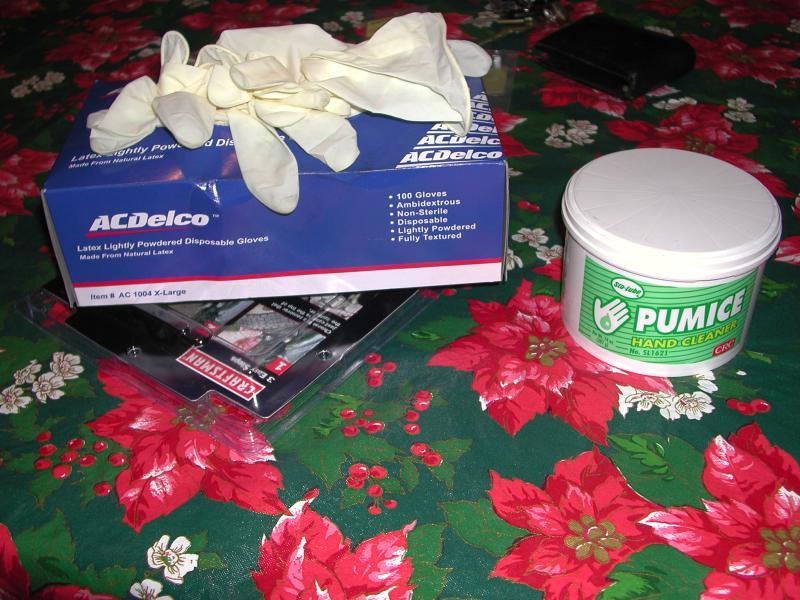
Of course, the car only gets the best fluids. I suppose the real value of RedLine fluids could be debateable, but I prefer to use lubricants that I know are widely regarded as being top of the line. If spending an extra few dollars now saves me a lot more in the future, then bring it on! The ATE brake fluid was chosen since I planned on autocrossing the car, and some additional protection for the brake hydraulics is never a bad idea.