


Overhauling the Chassis, Page 3
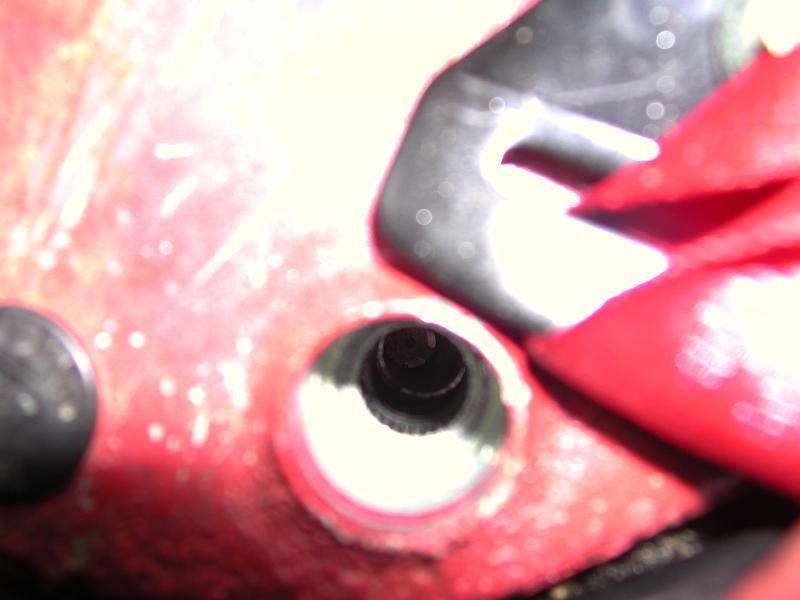
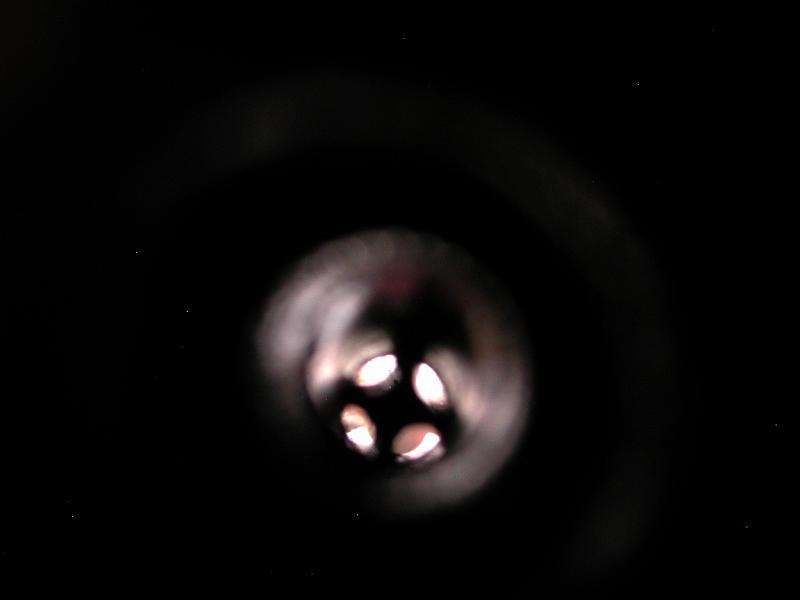
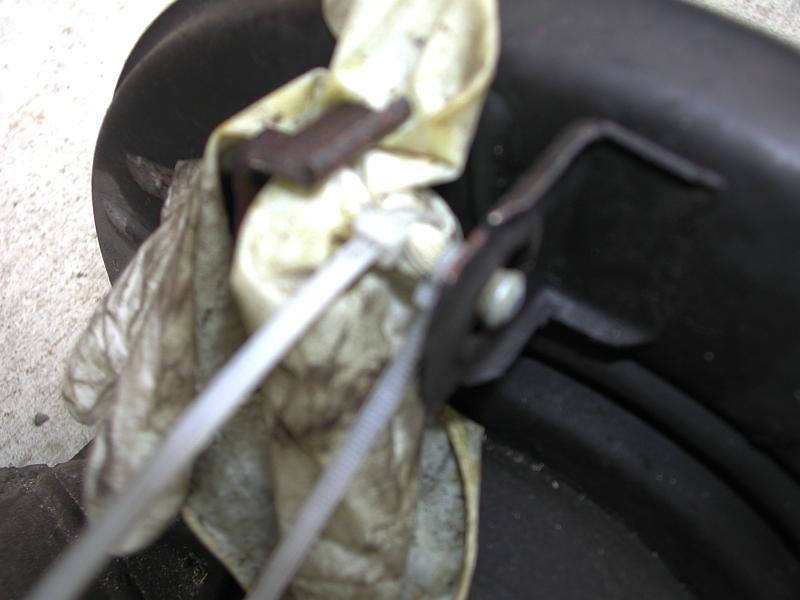
The next day I began preparing to remove the entire rear crossmember and related parts. The obvious items to disconnect are the shocks, sway bar, brake lines, differential mounting bolt and emergency brake cables. Here is the first bit of advice...ass soon as you disconnect the upper soft brake lines, sip tie some gloves tightly over the ends so that all your fluid does not leak out, and air stays out of the system. That is the easy advice. The hard part was removing the E-brake cable. Disconnecting the mechanism is relatively straightforward once the brake disc is out of the way. Getting the cable end out of the hub was anothe rmatter entirely. It was severely siezed in place. Die to the hub being in the way on one side, there was no way to get a rod in the hole to knock the end out. I had to carefully smack it out with a screwdriver and mallet. This was quite nerve-wracking as I really did not want to mangle the E-brake cable. It eventually came out with soem forceful coaxing.
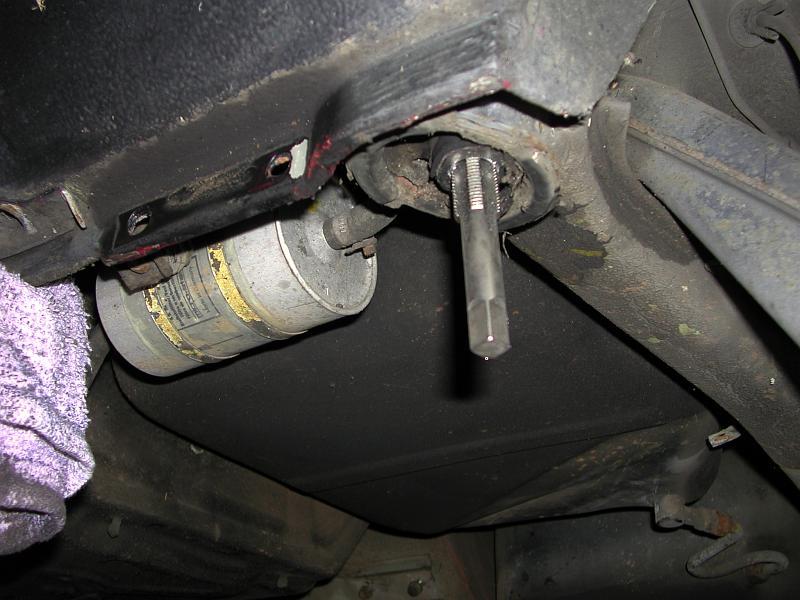
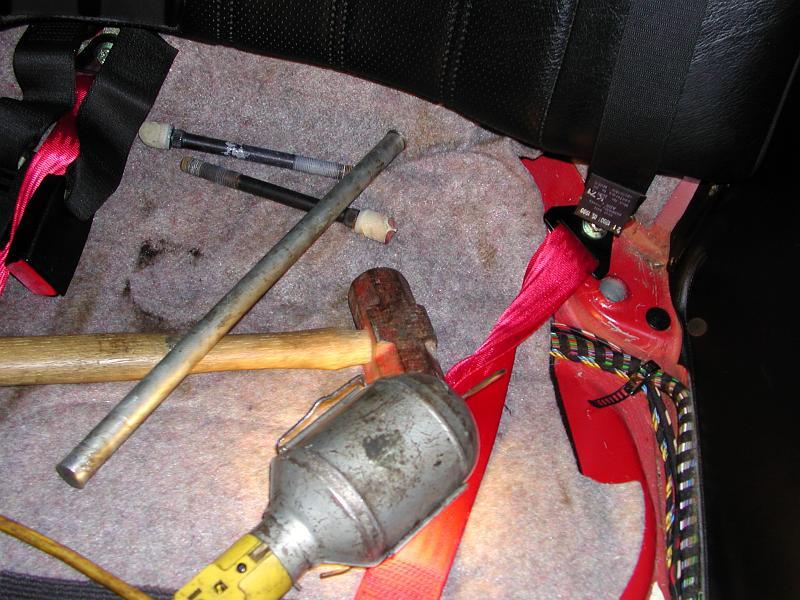
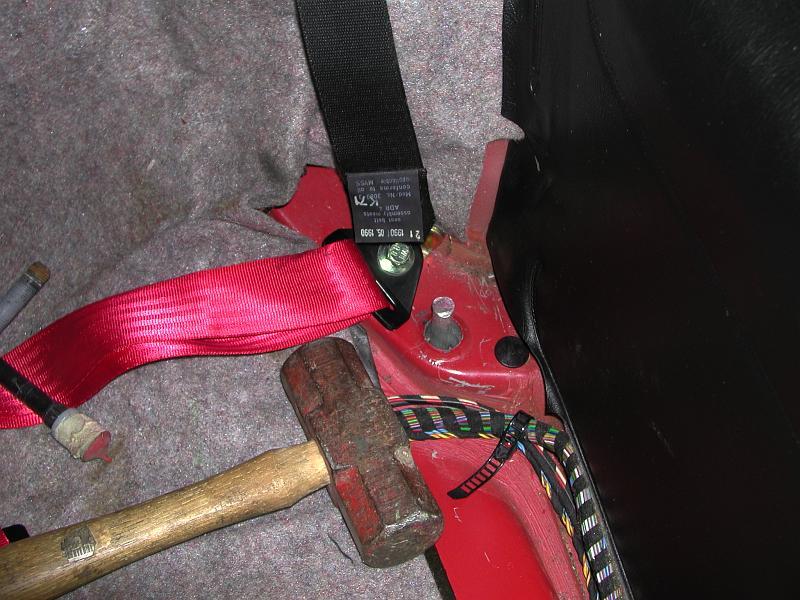
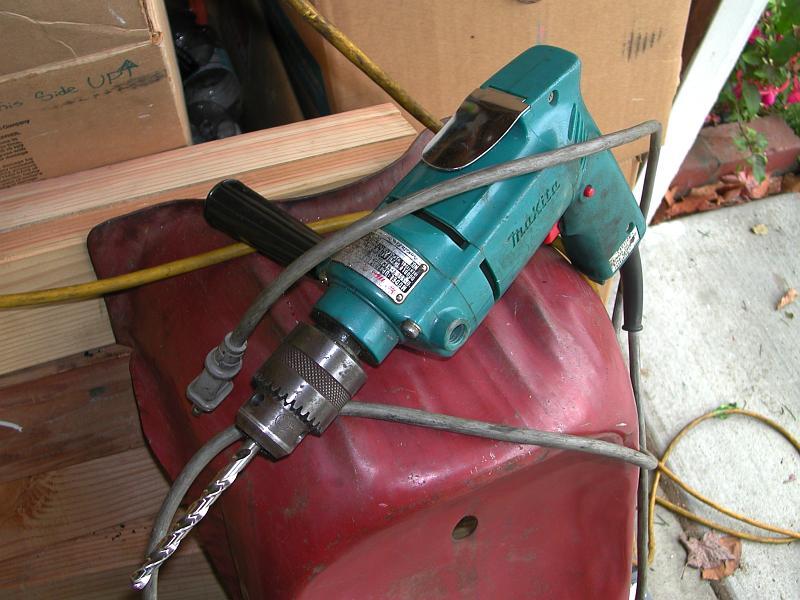
Getting old subframe mounts out of the chassis can be tricky. There is an aluminum portion of the mount that sits in a cavity up in the chassis, and it commonly corrodes itself in there. Begin by removing the two 6mm allen bolts holding the locating plate to the side of the chassis. Then remove the 21mm nut holding it to the subframe. Remove the bottom rear seat cushion. Under the car, use a big mallet on the threaded rods sticking out from the center of the mounts. They usually take a lot of well placed, very forceful blows to free. They will pop out inside the car where the rear seat was. To get the mounts out of the chassis, the following method is what I have determined to work best. Get a M16 tap and thread it into the aluminum center of the mount. Next, get a 12-14mm diameter metal rod and stick it down though the mount from inside the car. A few hard blows from a mallet should break the mounts free. To avoid damaging the tap, insert some M16 bolts to take the force from the metal rod. As a small aside, I very much prefer corded drills. I will take a 1.5hp Makita drill that can throw me across the garage any day over a battery powered drill. I also use a small sledge hammer for some jobs. As much as mallets work, a sledge is just a lot easier when you are not hitting car parts directly!
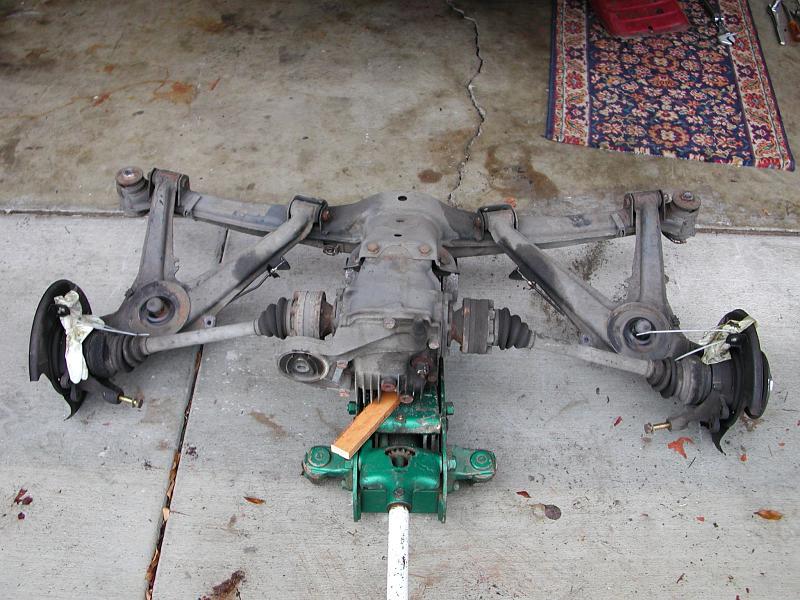
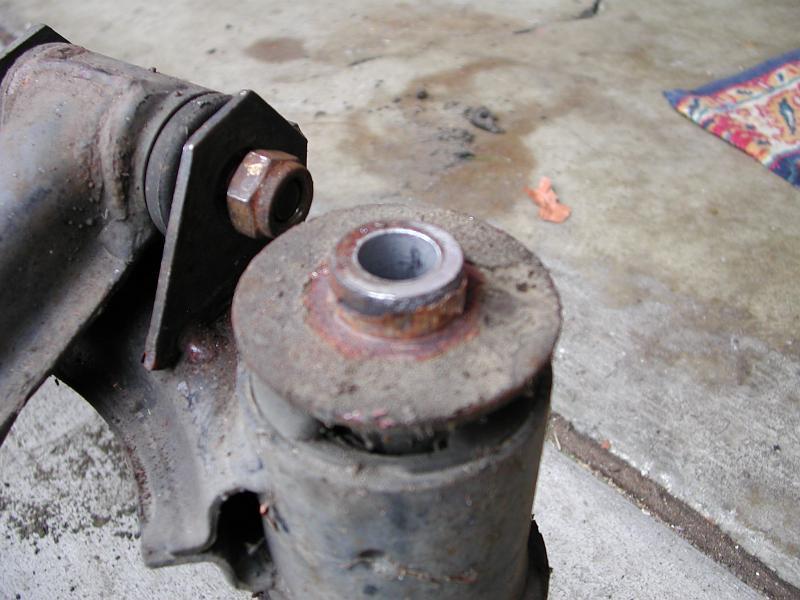
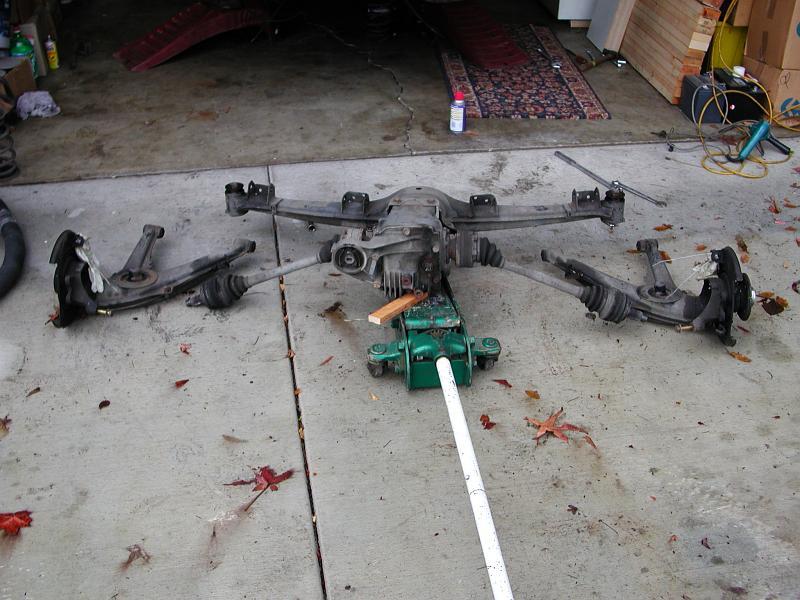
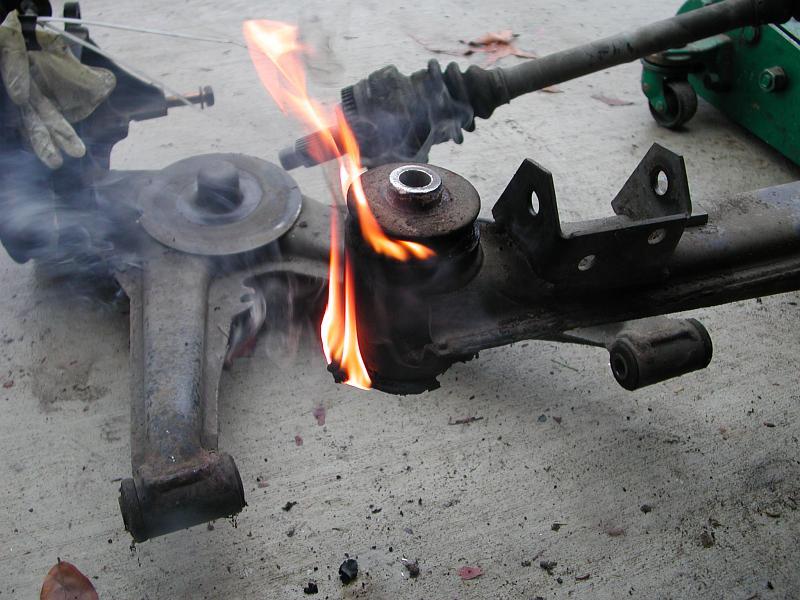
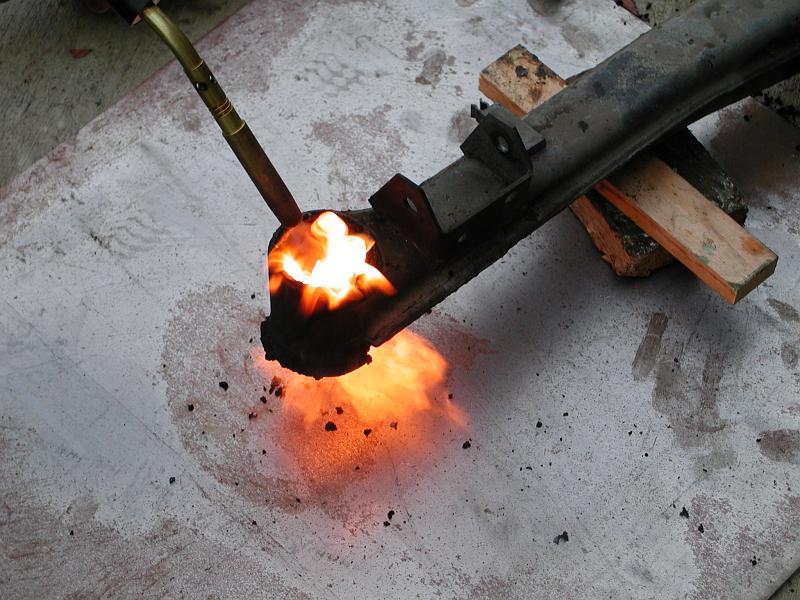
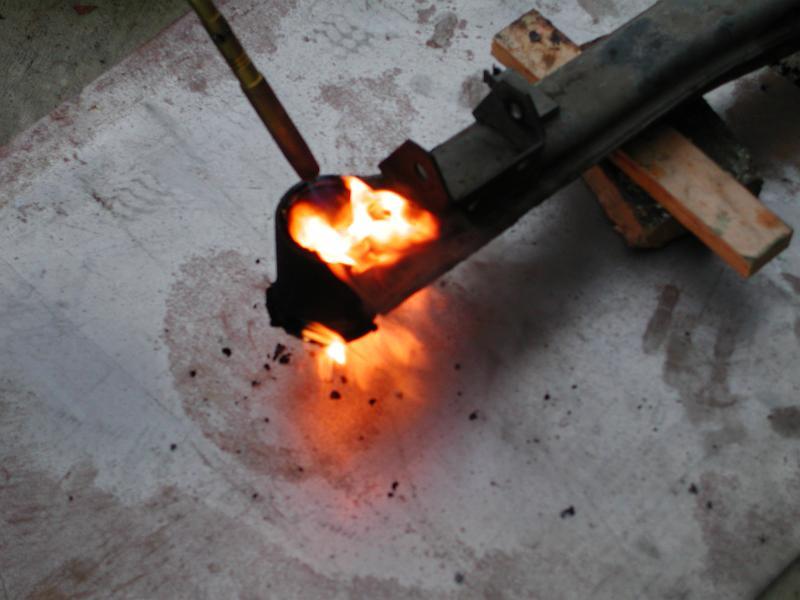
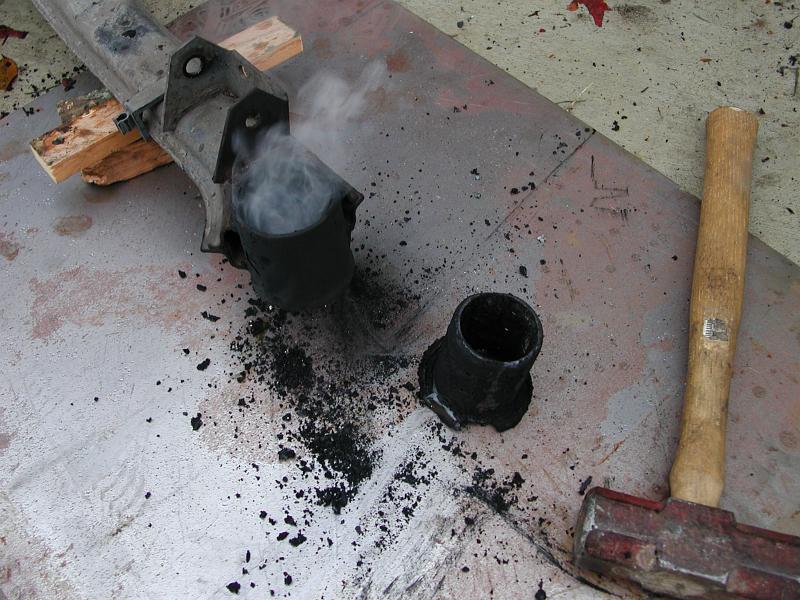
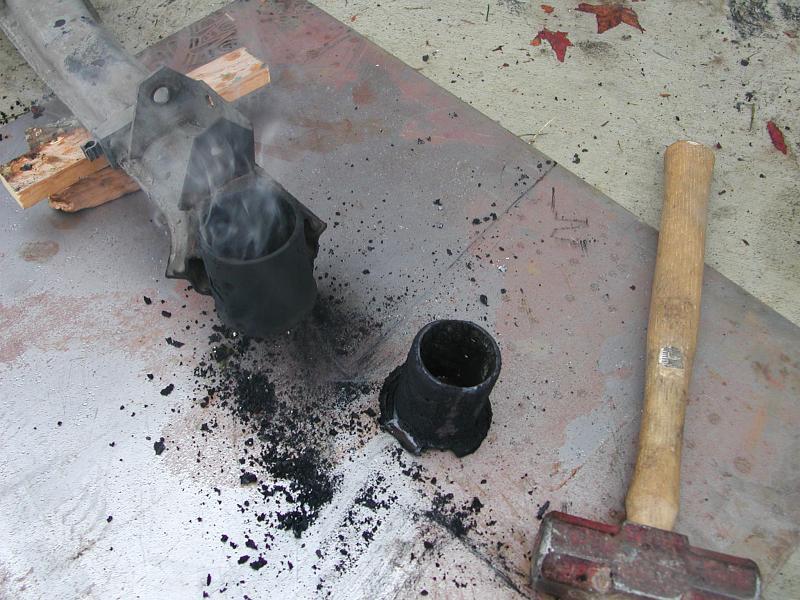
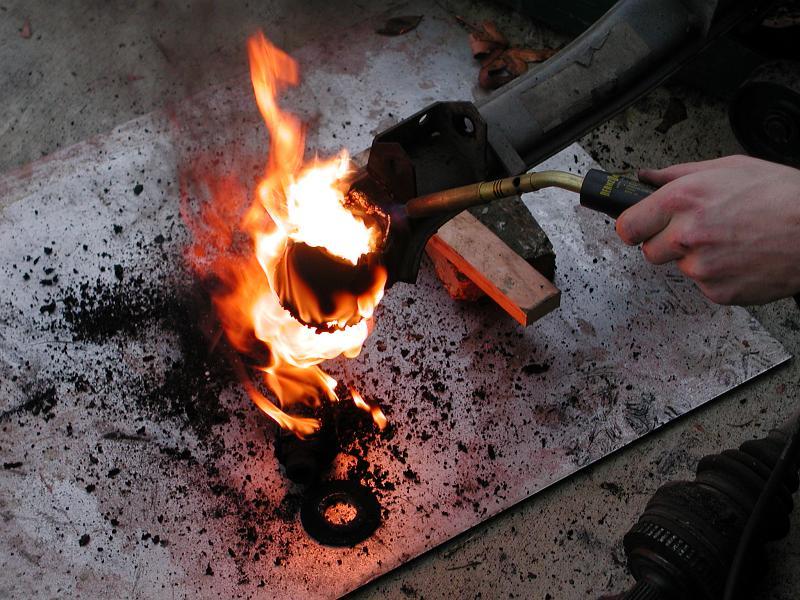
Now the rear crossmember could be removed. Be very careful doing this...the whole assembly weighs somewhere around 220lbs. If it falls on you, you will probably be an unhappy mechanic. From here I did a little more disassembly on the rear suspension assembly. I "gloved" off the brake hardlines on that side as well. You can see the massive corrosion at the tops of the subframe bushings. For the bushing removal...I had my own special tool. It bears a striking resemblance to a propane torch, no?

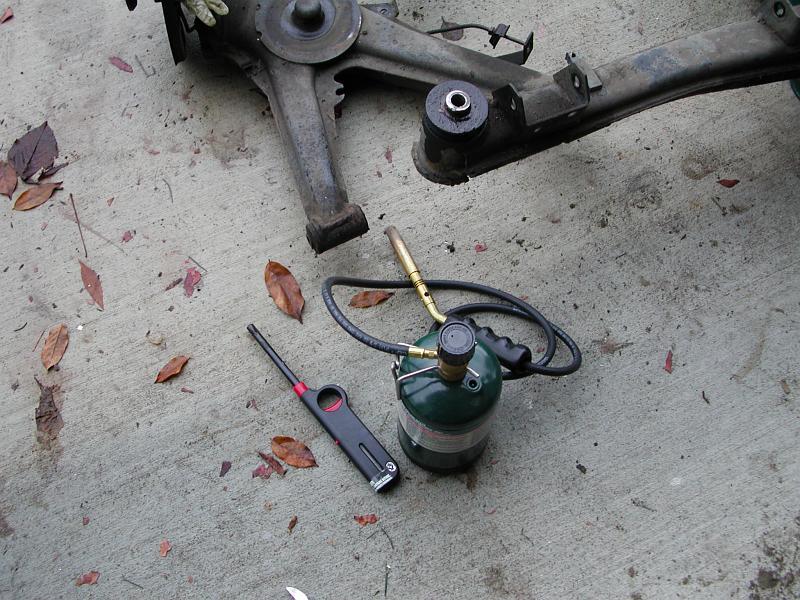
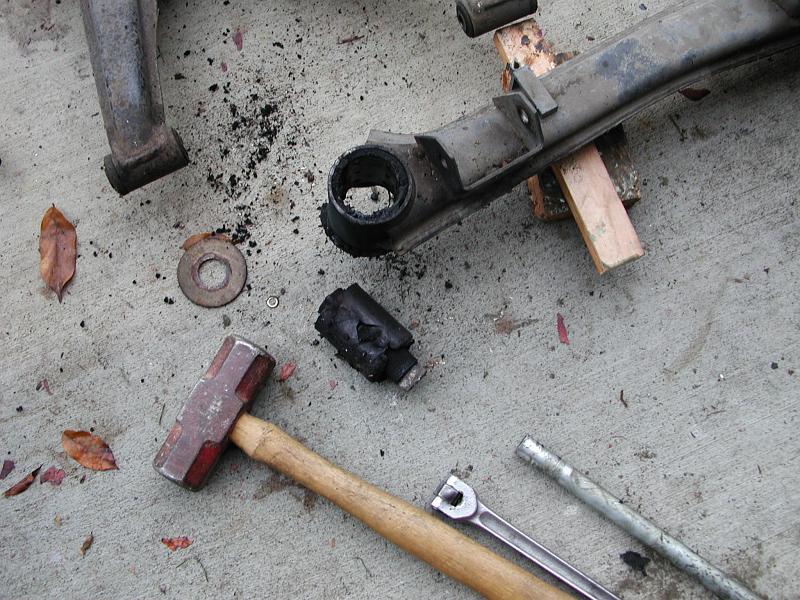
Here are some shots of the bushing removal. Do NOT breathe smoke from burning vulcanized rubber. Also, put some sort of ground covering down (non-flammable) under them. This method makes a horrendous mess. It sure is quick though! All you really need to do is heat the outside of the subframe around the bushing. Thus will melt/burn the rubberized outer coating of the bushings, and they will fall out. After removal, use a wire brush to get any junk off of the bushing sleeves. Brush of any burnt paint as well. You will want to repaint any spots that had paint burn off.
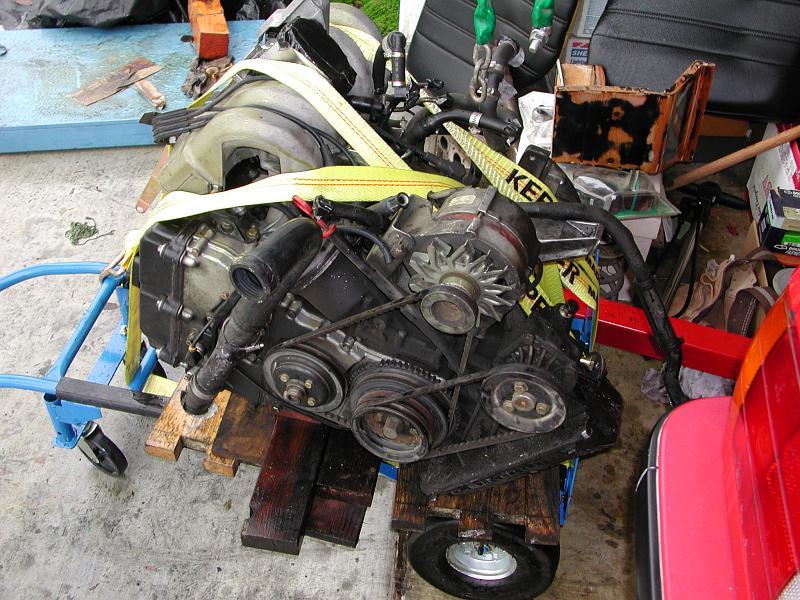
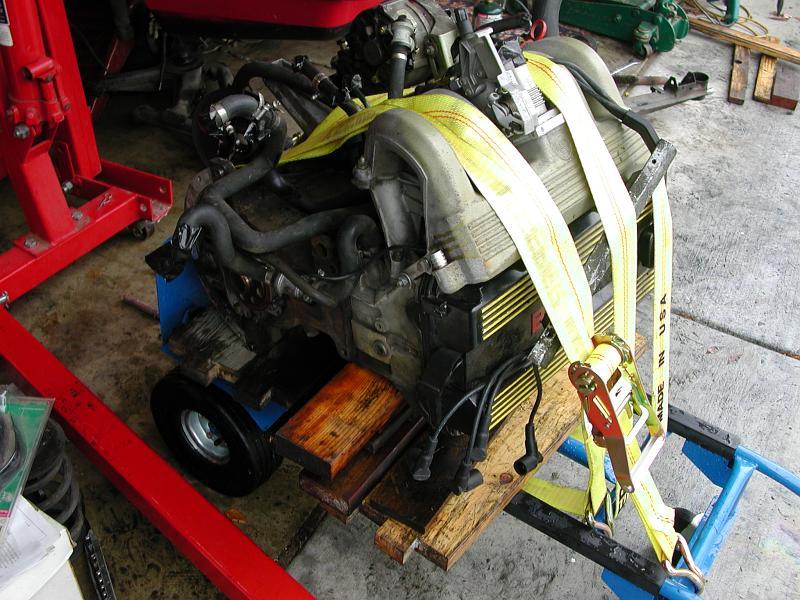
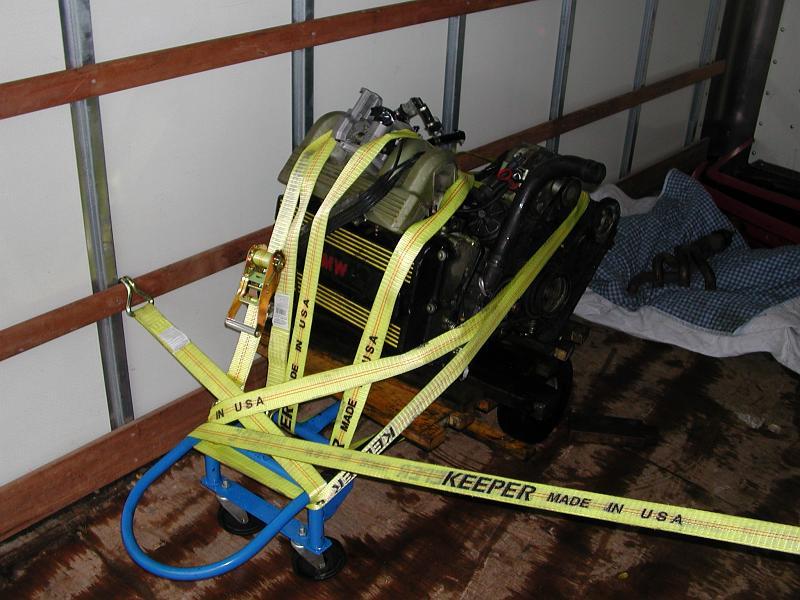
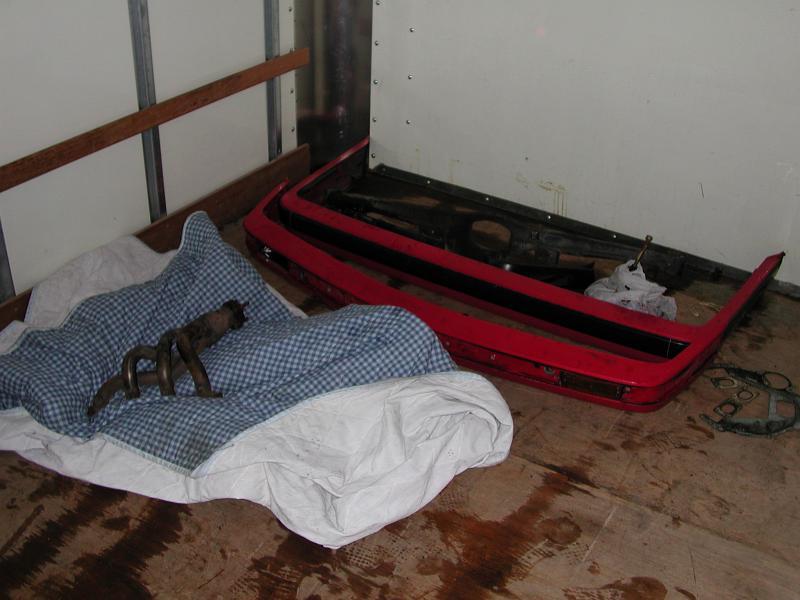
During this time, I was able to sell some goods from the wrecked car. I got rid of the old motor, bumpers, rear crossmember, struts and wheels. The cash was badly needed...thank goodness for Craigslist!
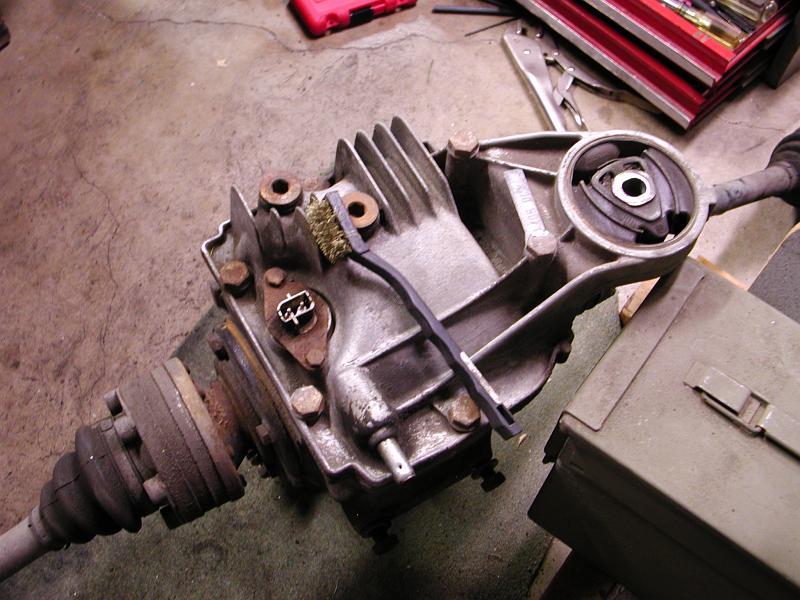
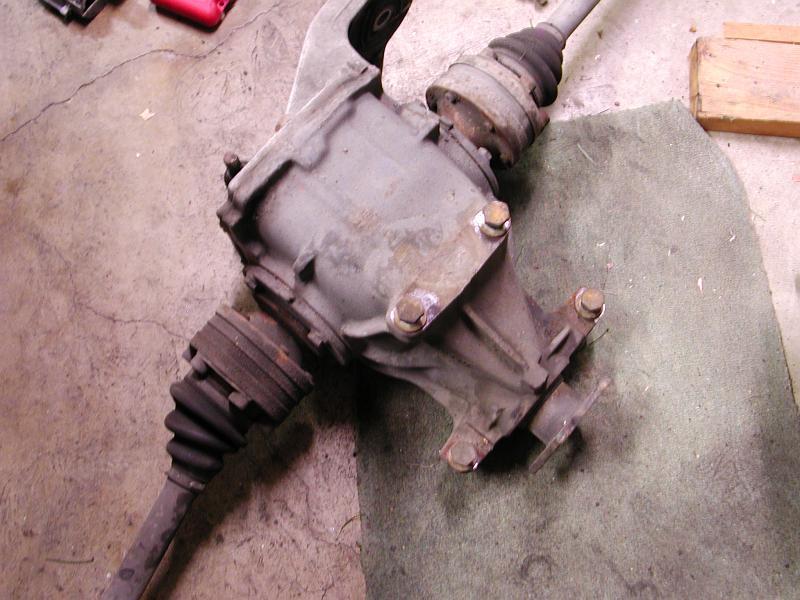
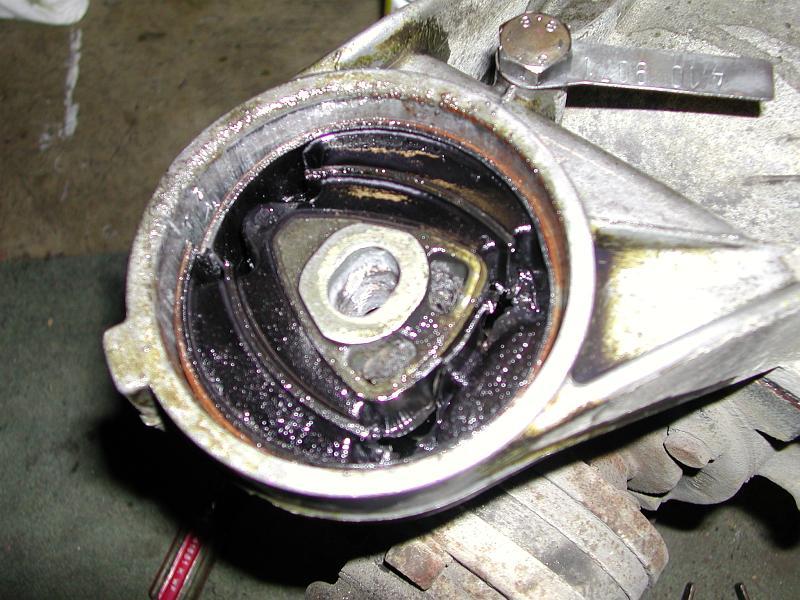
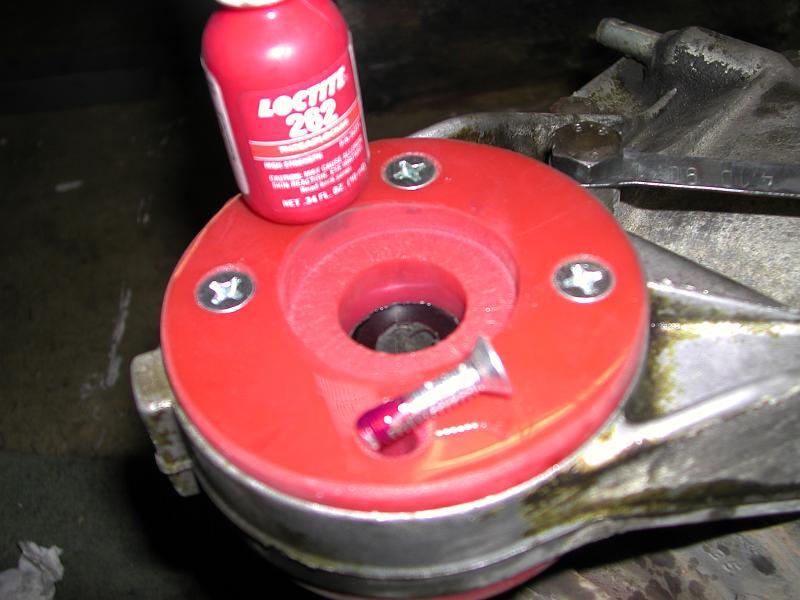
Now it was time to do a little work on the differential. Using a wire brush, I managed to get most of the crud off of the unit. Removing the stock bushing is fairly easy. Spray the perimeter down with penetrating oil. Take the blade off of a hack saw, put it through the bushing's web and reattach it to the saw. Cut the outer metal ring of the bushing. Take care not to damage the differential cover it resides in. From here, use a little more penetrating oil. If need be, pry the cut portion with a screwdriver a little. One whack with a mallet should free it. Installing the polyurethane bushing was a snap. It did not require a press for reinsertion. Loc-Tite is always a good idea with things like this.