


Overhauling the Chassis, Page 4
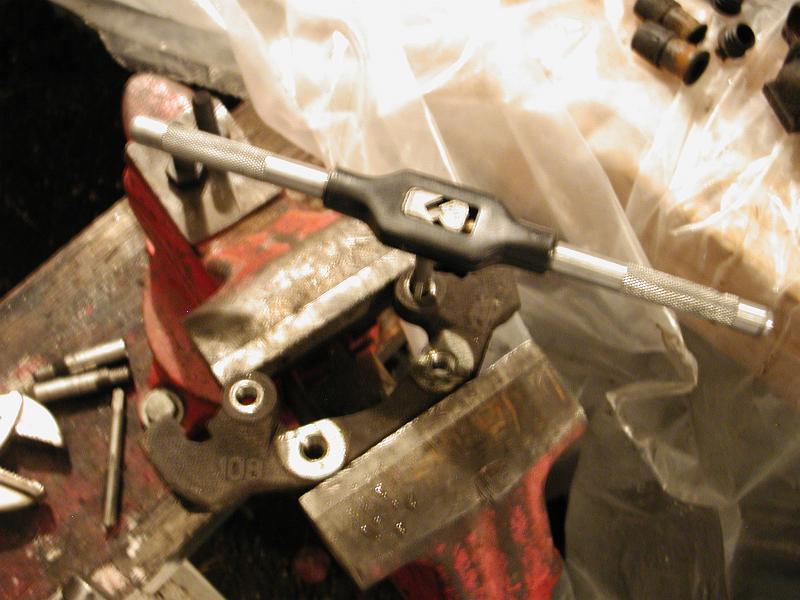
Agood habit to get into is that of chasing the threads of all fasteners and other threaded holes. A full set of metric taps and dies is good to have. Cleaning corrosion and rust off of fasteners makes everything go together nicely, and can help prevent cross-threading.
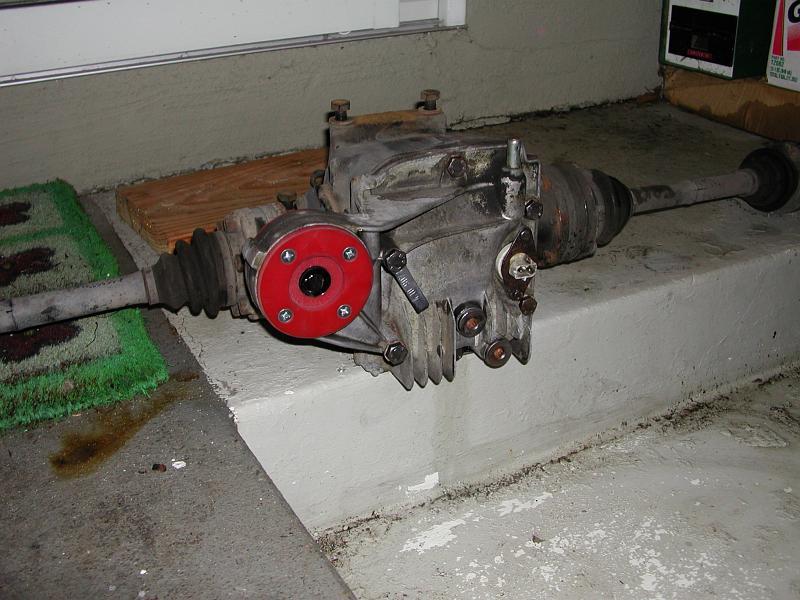
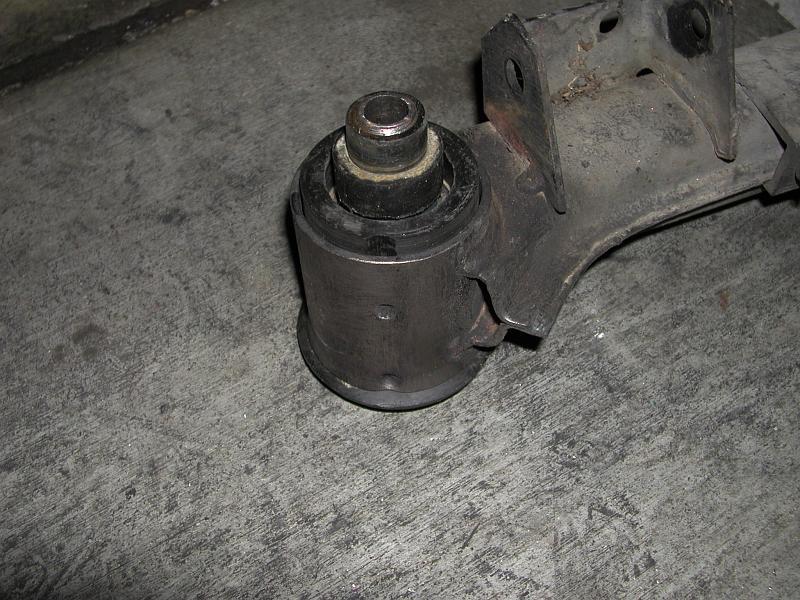
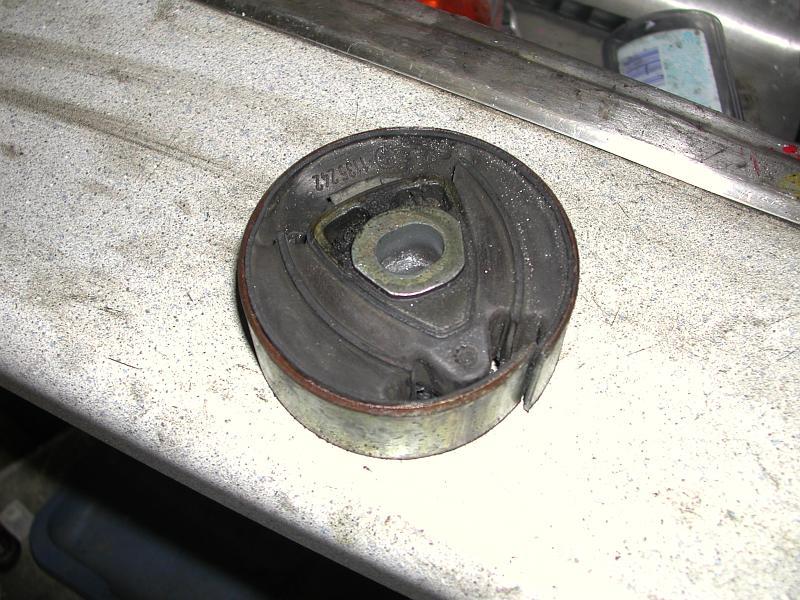
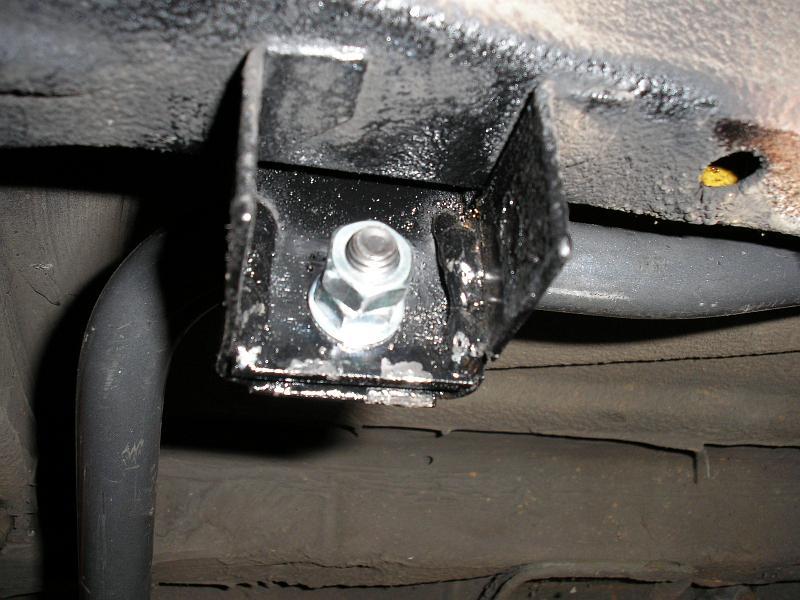
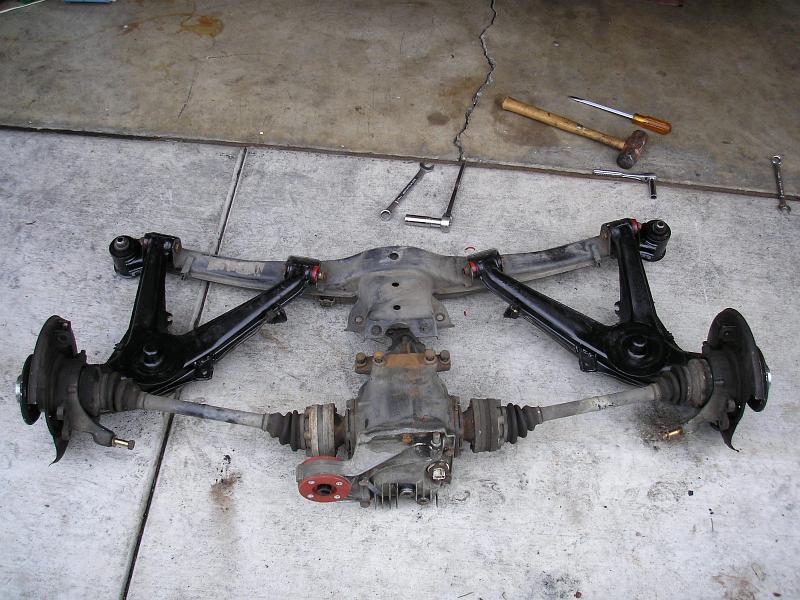
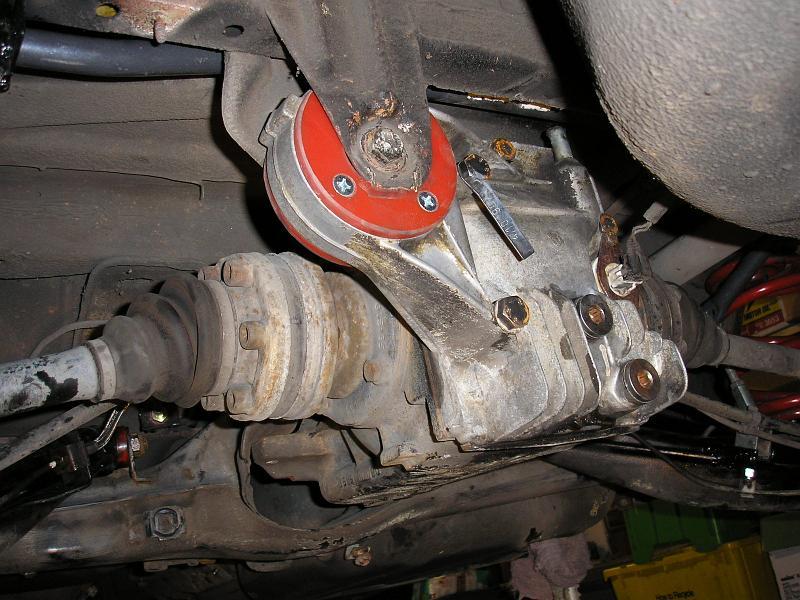
The new differential bushing sure is pretty, no? Around this time, I also decided to install the polyurethane subframe mounts. They were very easy to install. After being inserted (by hand), nuts at the top and bottom are tightened, causing the bushing to expand in the sleeve and stay in place. The old differential bushing sure looked sad after being chopped and removed.
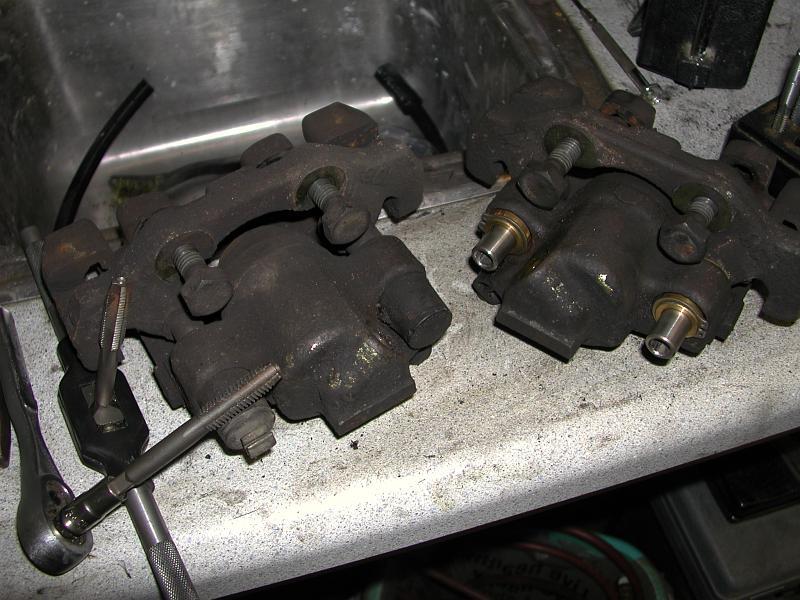
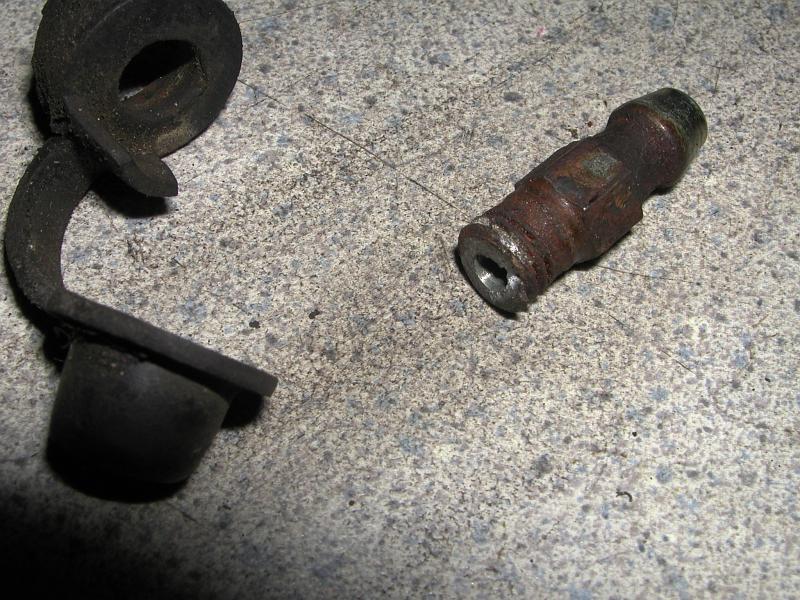
While working on bleeding the front brakes, the bleeder screw sheared off. Luckily, I kept the old calipers, so this was not a big deal. If I had not had them on hand, this would have been a real nightmare.
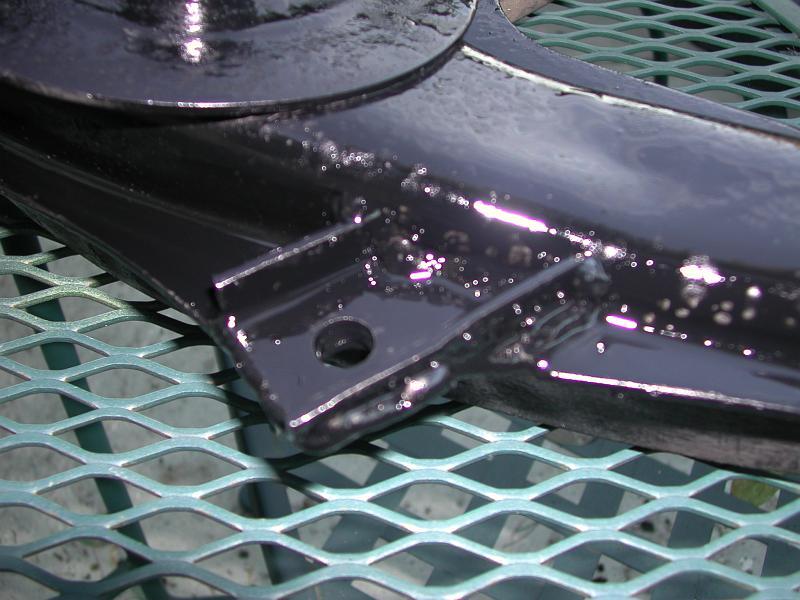
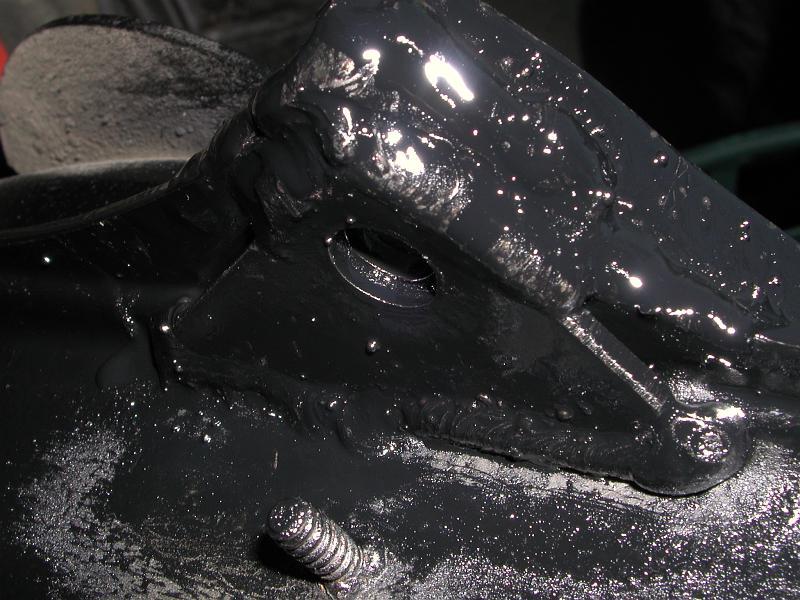
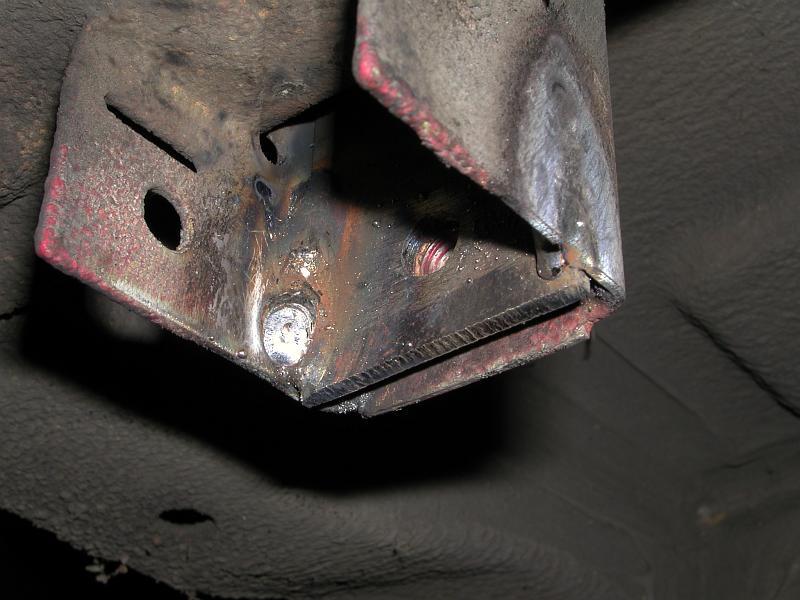
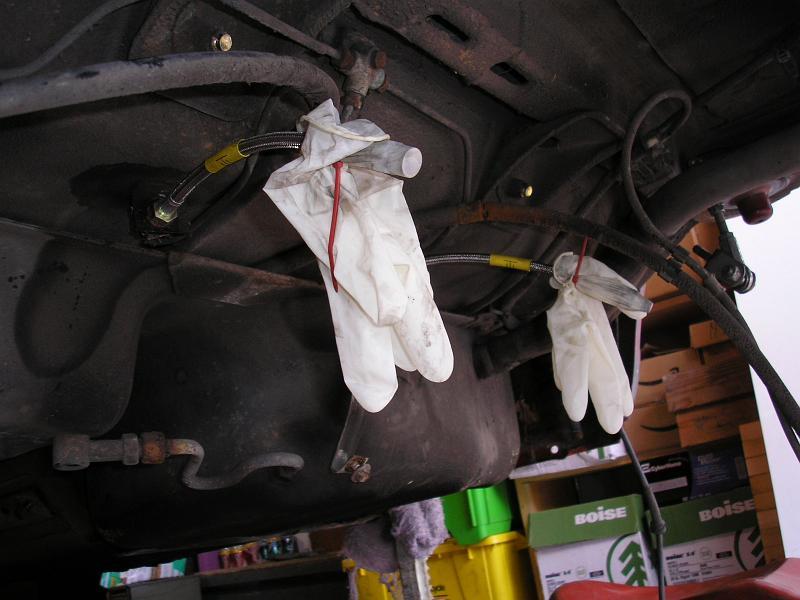
The rear sway bar reinforcements were welded on next. The welds are not the prettiest around, but they get the job done. After all welding, some weatherproof paint was applied to prevent rusting. Extra care was tanek while welding on the passenger side chassis reinforcement. I surrounded the gas tank & filling tube with wet rags and steel plates to prevent stray sparks from causing problems.
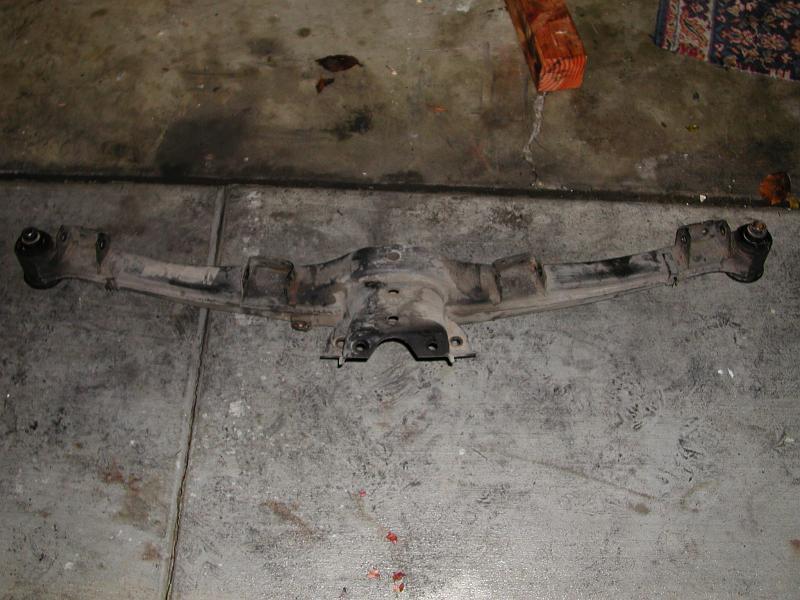
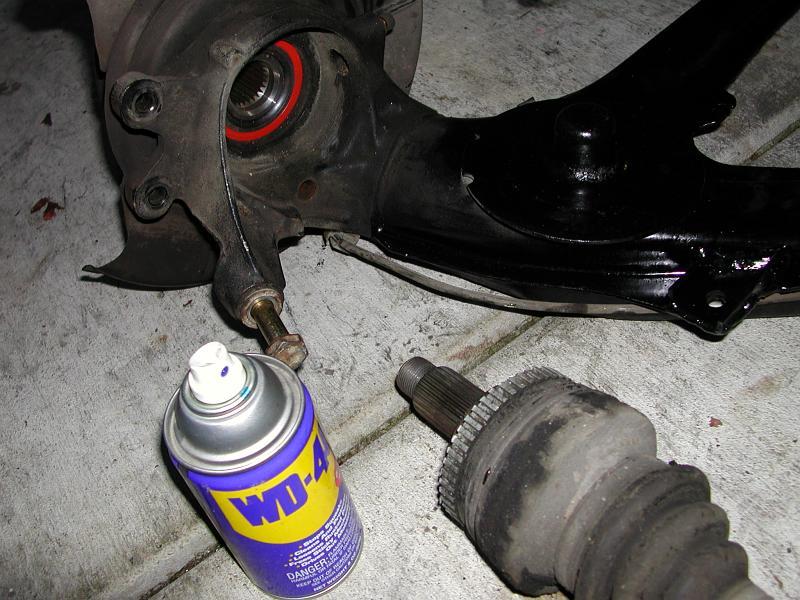
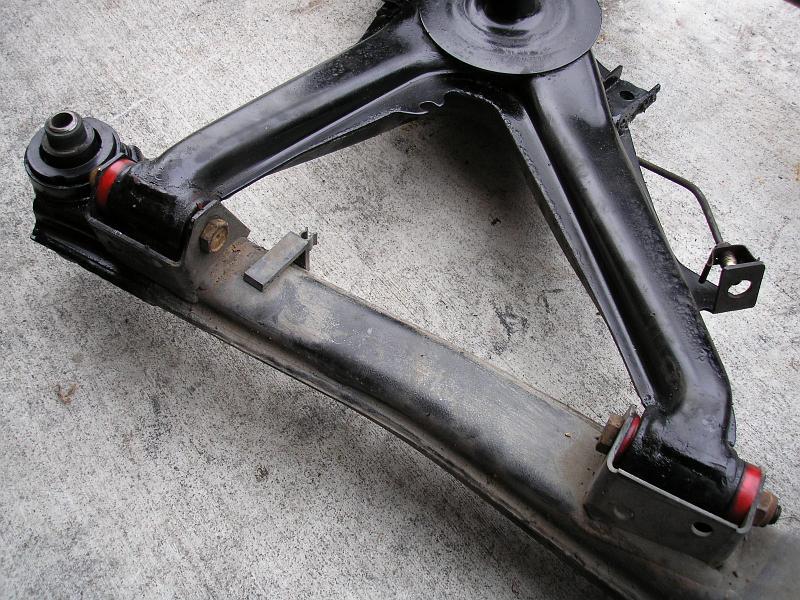
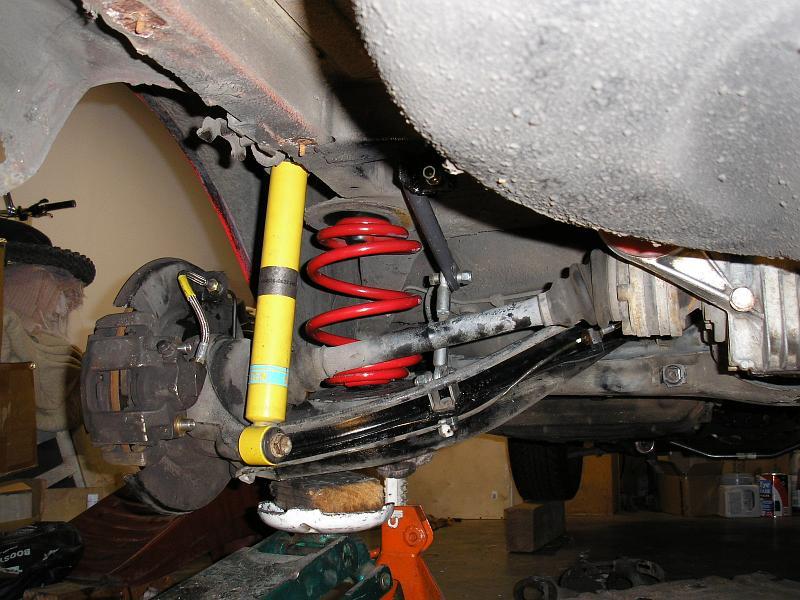
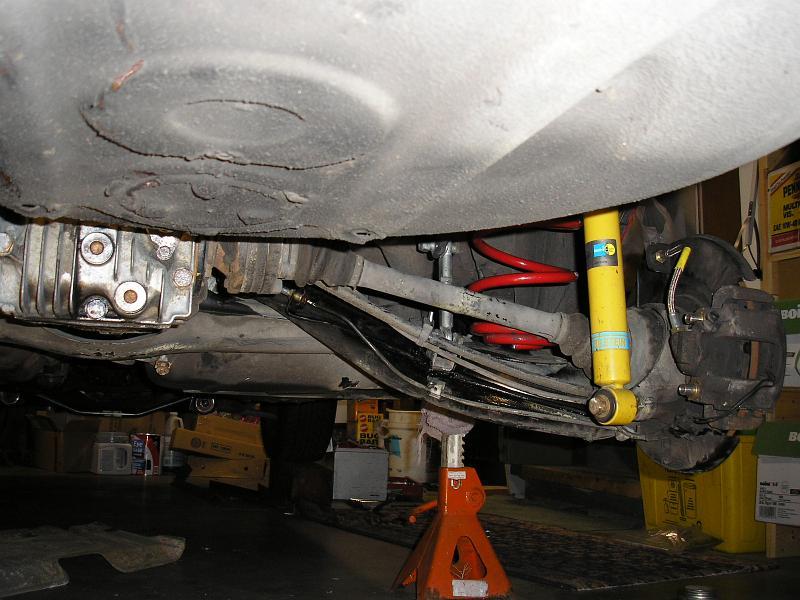
With the new wheel bearings installed, some reassembly began. You can usually get the CV shaft's input rod far enough into the hub to get the axle nut on it to pull it through the rest of the way. Be sure to use new locking plates when the time comes to torque things all the way! The rear sway bar was pre-installed on the chassis. Fitting it over the differential is a real chore otherwise. The old rubber trailing arm bushings were torched out as well. The polyurethane ones were much easier to install. Use some thick silicone grease back there during installation. Polyurethane RTAB's WILL squeak after a couple months. There is no avoiding it.

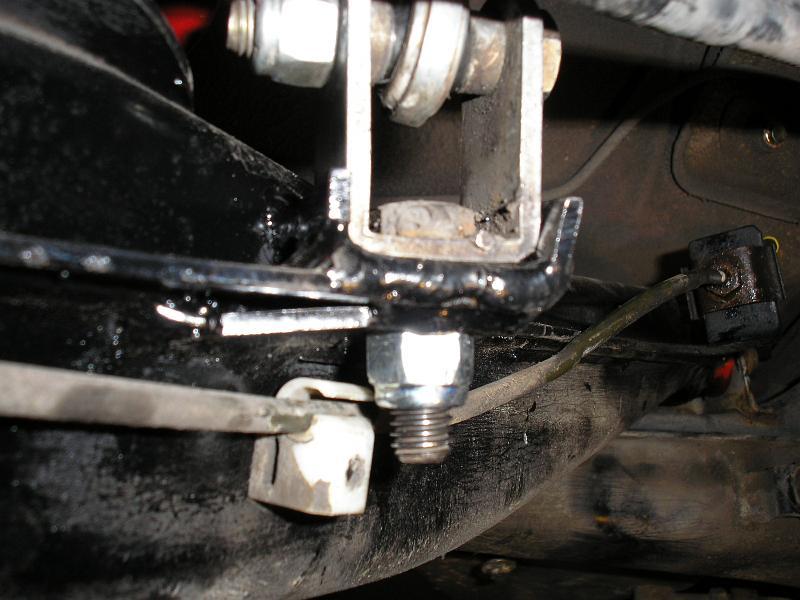
Now is a good time to install the two upper brake lines. It is far more difficult once the subframe is back in. I did have a left-over rear strut brace at this point. I later removed and sold it. Getting the rear subframe assembly back in is relatively simple. Having a partner helping to get the bushing bosses lined up with the holes in the chassis is recommended. Once you have those lined up, and the differential bushing placed properly, things are mostly done as far as reinstalling it. From there, it is all a matter of reinstalling everything and being careful to make sure that everything really is aligned properly.

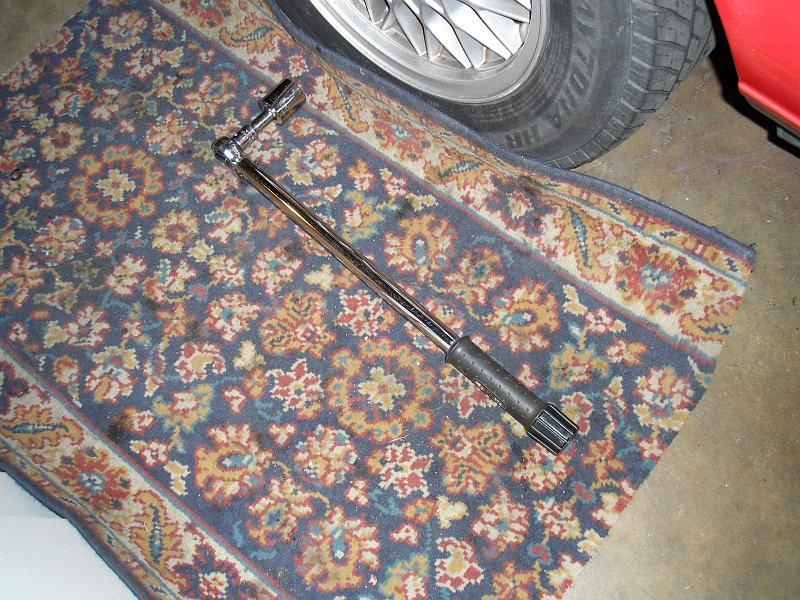
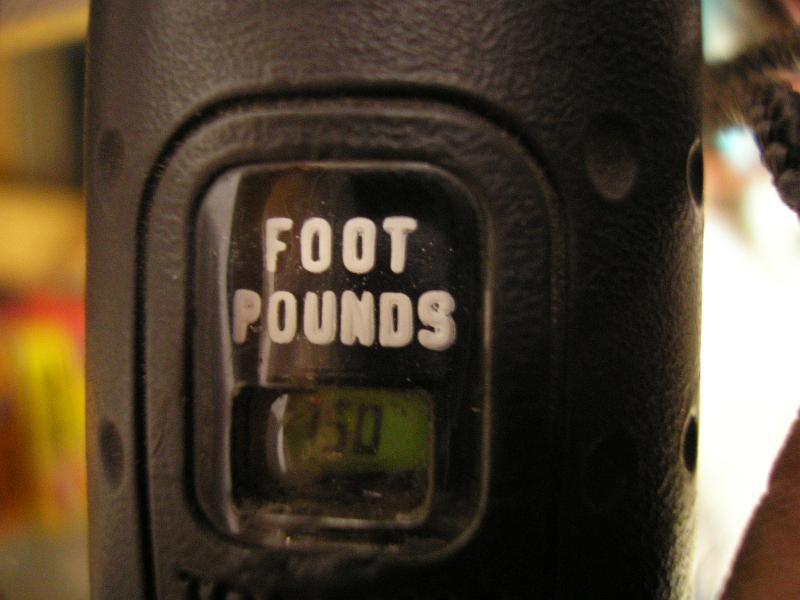
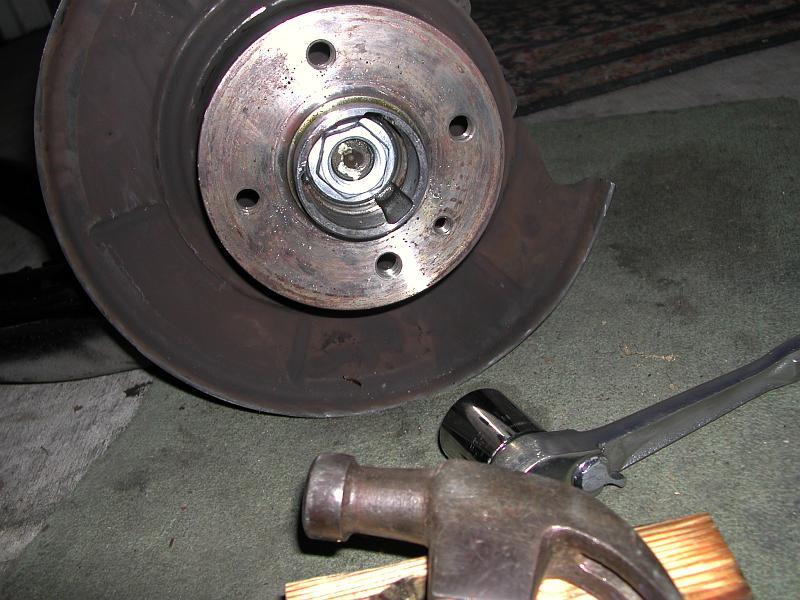
Once everything is properly situated, you can finish up with the axle nuts. Torque them to the specified 150ft-lbs. Use a hammer and large socket to smash the new locking plates in place. It is crucial that you use the locking plates! Failure to do so could result in a catastrophic driveline failure.